Wix Blocks: Setting Up and Managing Your App's Pricing
5 min read
Wix Blocks is open to all Wix Studio users. To get access to Blocks, join Wix Studio.
When you publish your Blocks app in the Wix App Market through the Wix Developers Center, you choose to provide different app behaviors for site-creators with different pricing. For example, people who download a free version of your app may get several services, while those who pay for it, get more. This requires creating and managing a system that identifies the user, determines their pricing plan and impacts the app's behavior.
Before you begin: configure pricing in the Wix Developers Center
Wix Developers Center 1 | Select a business model
Wix Developers Center 2 | Add your pricing plans
Wix Developers Center 3 | Set up your pricing page and checkout
Adjust your Blocks app to the pricing plans
Configuring the pricing settings in the Wix Developers Center is only a first step. Now, you need to adjust your app to handle this pricing plan with your own logic and UI. This includes four steps:
In this article, we use an example app that shows numbers moving upwards, like in a slot machine.

See example application
Step 1 | Creating a user interface (UI) for the different plans
Since your app needs to behave differently to users according to their different pricing plans, the first thing you should understand is what the different users see. You can do this through a multi-state box, or through deleting and restoring elements with the delete() and restore() functions. A multi-state box can give you different user interfaces with no code at all.
Should I use a mutli-state box or delete() and restore() ?
Also, make sure to create clear entry points for site-creators to upgrade your app once they installed it.
Step 2 | Code
Use the following in your widget code to impact your widget's behavior.
Your app's JWT
getDecodedAppInstance()
Import the wix-application module in order to process this information.
1import wixApplication from 'wix-application'Use getDecodedAppInstance() to get the vendorProductId and use it in your code logic.
1import wixApplication from 'wix-application';
2
3$w.onReady(async function () {
4    instance = await wixApplication.getDecodedAppInstance();
5    plan = instance.vendorProductId;
6 //Your configured vendorProductId in the Wix Developers Center.
7 //If there is no plan, the value is null.
8 // Now, add your logic for the different plans
9});
10
11$widget.onPropsChanged((oldProps, newProps) => {
12});
13
14
Note
You can also import wix-application in your app's backend files.
Step 3 | Configuration
Now, you might want to make some changes in the Configuration tab in Blocks.
You can define certain elements of your widget, such as the grid, as non-selectable. You can also change display names. Make sure to think about all your pricing plans when making these changes.
Note:
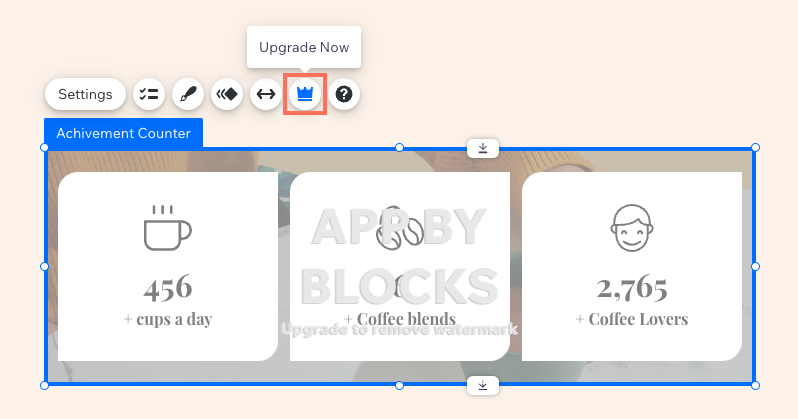
Once you define a pricing plan for your app your widget automatically gets an Upgrade button in its action bar.
Learn more about configuring widget and element display names and behavior.
Step 4 | Customize your panels
You can get the vendorProductId of the app and show or hide elements in the panel according to the plan in the Panel code, just like you did in the widget code.
This is done in the code section of your panel in the Panels tab.
Step 5 | App and widget installation settings
Your app installation settings allow you to control what widgets are seen in a site's Add panel, and more options. Make sure to think about all your pricing plans when you go over your installation settings. For example, there are some widgets that you might want to hide from the Add Elements panel.
Learn more about app and widget installation settings.
Congratulations, your app is ready to publish! Make sure it stands up to the Wix Developers Center guidelines.
Did this help?
|