Studio Two Editor: Working with Site Fonts and Text Styles
This article refers to the new Studio Two Editor, released in November 2026. If you're unsure whether you’re using the Studio Editor or the Studio Two Editor, view more information here.
Create consistent messaging across a site by setting up its typography. The options are divided into Fonts and Text styles, which you can customize individually to match the site's voice and business goals.
About fonts and text styles
You can find both the site's fonts and text styles in the Site Styles panel in your editor.
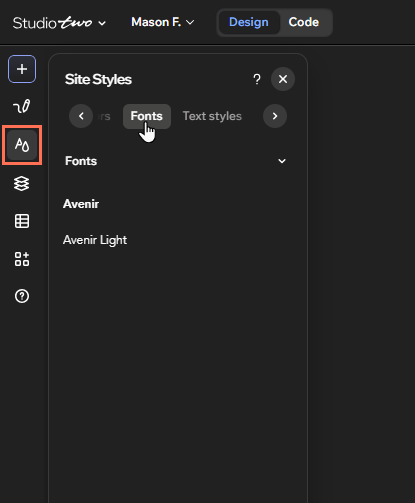
The Fonts tab lists all the fonts used in the site's text styles. If you change one of these fonts in the panel, it automatically updates any text styles that used the previous font.
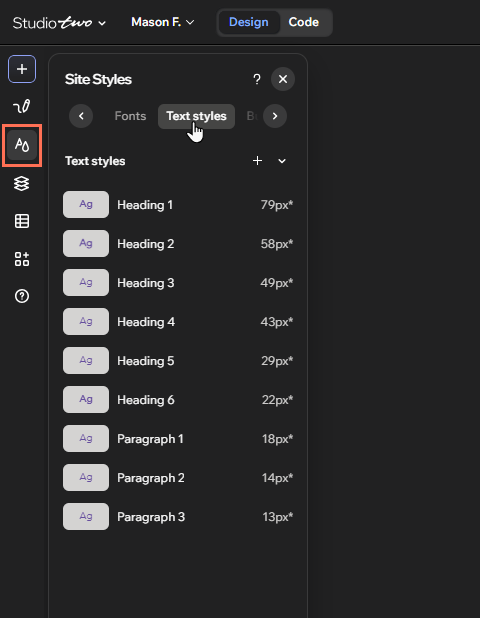
Text styles refer to the individual text types you use on the site (e.g. Heading 3 or Paragraph 2). Every site you create in the Studio Two Editor comes with 9 text styles by default: 6 headings, and 3 paragraphs.
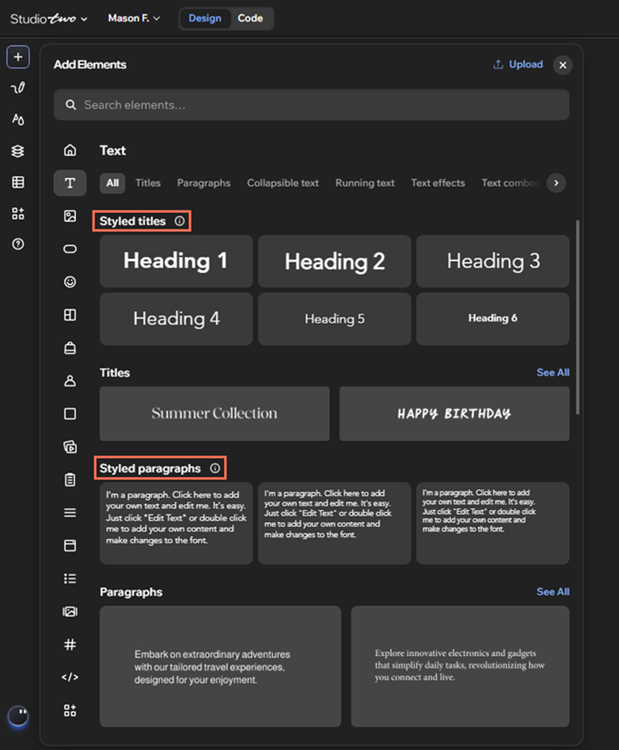
When you change a text style, it's applied to any text elements that are using that style - including your styled text in the Add Elements panel.
Customizing fonts and text styles
Update the site's typography to complement the site's look and content. You can change individual text styles, or update the fonts to make broader site changes.
To update the typography:
Click the Site Styles icon on the left side of the editor.
Choose what you want to customize:
Fonts:
Select the Fonts tab.
Click the font you want to update.
Select a new font from the drop-down.
Click Update to apply the change.
Text styles:
Select the Text Styles tab.
Click the style you want to customize.
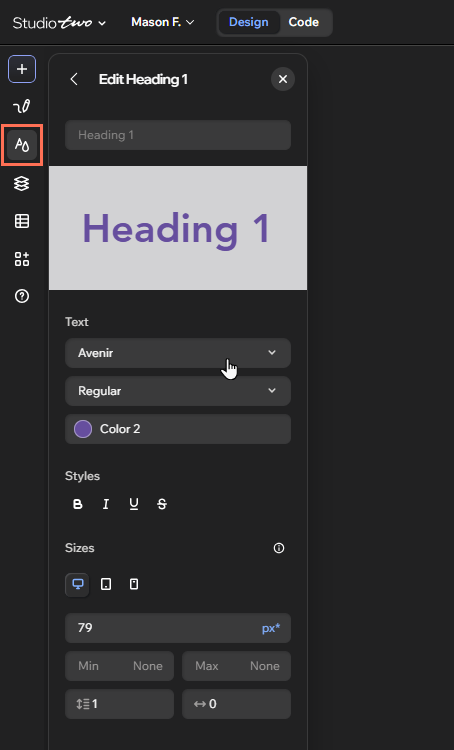
Customize the style using the options:
Text:
Font: Choose a new font from the drop-down and choose its weight (Regular, Bold, etc.).
Note: This is not available for all fonts.Color: Choose a new color for the text.
Styles: Apply formatting (bold, italics, underline, or strikethrough) to the text.
Sizes: Define the style's size and spacing on each of the site's breakpoints (e.g. Desktop , Mobile ):
Enter the size of the text (in px).
Enter a minimum and maximum size for the text (in px).
Set the horizontal and vertical spacing of the text style.
 on the left side of the editor.
 , Mobile
 ):
Adding and managing custom text styles
Depending on business and design needs, you may want to add your own custom text styles. You can also rename them to make them easy to identify, or remove custom styles you're no longer using.
To add and manage custom text styles:
- Go to your editor.
- Click the Site Styles icon on the left side of the editor.
- Select the Text Styles tab.
- Choose what you want to do:
- Add a new text style:
- Click the Add text style icon
 .
- Enter a name for the style into the field.
- Set up the text style to look how you want. You can use all the same options as when you're customizing existing text styles.
- Click the Add text style icon
- Manage custom text styles:
- Hover over the relevant style and click the More Actions icon .
- Use the options to manage the text style:
- Rename: Enter the new name for the style into the field.
- Delete: Click Delete to remove the text style.
- Add a new text style:
 .
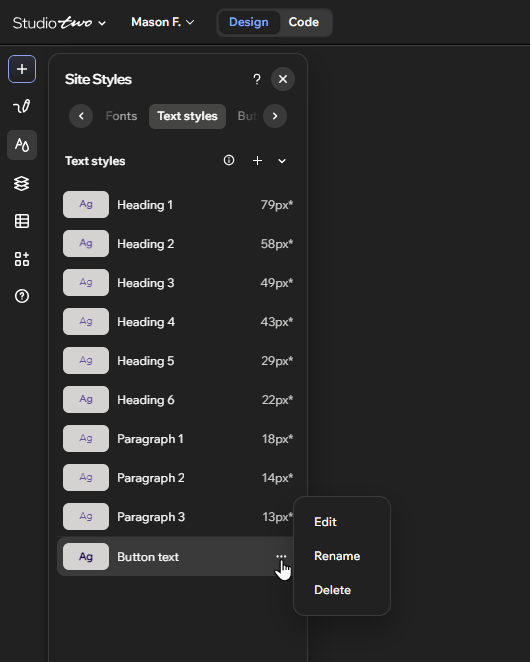
You can't rename or delete the site's default text styles. Learn more about customizing fonts and text styles.
Applying text styles on the site
Once you've set up the site's typography, use it across the site to keep the design and content cohesive. You can add styles directly from the Add Elements panel, or apply a style to an existing text element.
To apply a style to a text element:
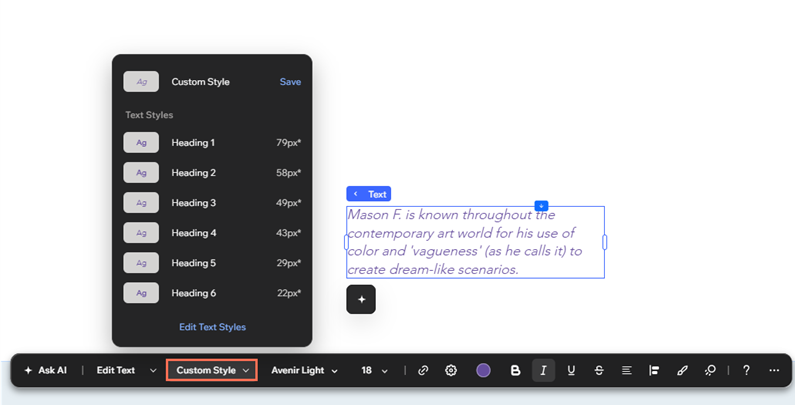
Click the text element in the canvas.
Click the text style dropdown on the action bar.
Tip: The title of the dropdown reflects the text's current style, e.g. Heading 1, Custom Style, etc.Select a text style to apply it to the element.
To add styled text elements:
Hover over the Add Elements icon on the top left.
Select Elements.
Click the Text icon
 .
(In the All tab) Click an option under Styled titles or Styled paragraphs, and drag it to the relevant location on the page.
 on the top left.