ADI: Customizing your Wix Stores Gallery
3 min read
In this article
- Setting up your store gallery
- Designing your store gallery
Important:
This article refers to Wix ADI. Click here if you are looking for information regarding the Editor.
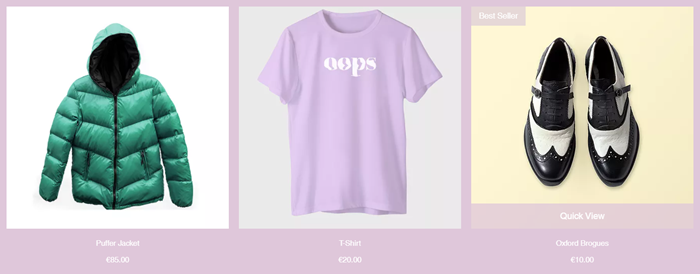
Your store gallery is your site visitor's first impression of your products on offer - customize your gallery's look to appear just how you want. Display specific collections, customize how images are sized, and change your gallery's design.
Learn more about:
Setting up your store gallery
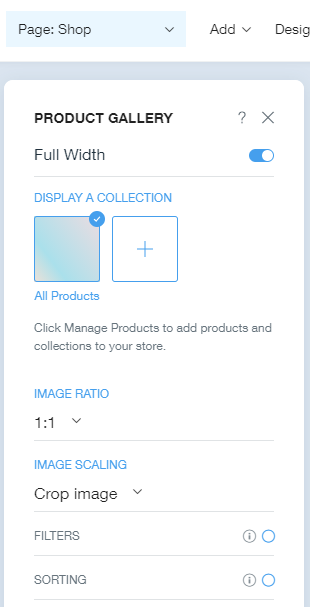
Set up your store gallery to display your chosen collections, enable filtering and sorting of products, and even customize how your images are shown.
To set up your store gallery:
- Click the Page drop-down menu at the top of ADI.
- Click Shop.
- Hover over your Product Gallery and click Settings.
- Click the Full Width toggle to enable or disable it.
- Display a Collection: Click a collection to display it on your Shop page.
- Image Ratio: Click the drop-down menu and select a ratio for your images.
- Image Scaling: Click the drop-down menu and choose how your images are scaled:
- Crop Image: Cuts the images to fit the image space in the gallery.
- Scale to Fit: Fits the images in the image space in the gallery.
- Filters: Click the Show/hide icon
 to allow customers to filter your store products by collection, price and by any product options you've specified (size, color, etc).
- (Optional) Click the Filter By text field to update the title shown at the top of the filtering feature in your product gallery.
- Sorting: Click the Show/hide icon to allow customers to sort your store products by newest first, price and name.
- (Optional) Click the Sort By text field to update the title shown in the sorting bar of your product gallery.
Designing your store gallery
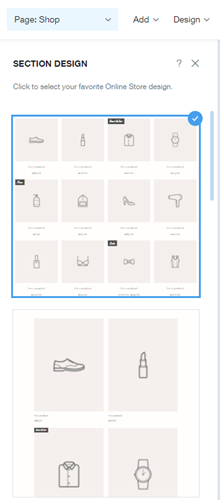
Choose a different look for your store gallery by changing it's design.
To change your gallery's design:
- Click the gallery in ADI .
- Click Design.
- Select the Product Gallery design you want to add.
Tip:
For further customization options, head to the Editor.
