Adding Properties to your Widgets (Beta)
In this article
- Custom Property Types
- List Property Type
Note
This product was a limited beta (2018) and will soon be outdated. See our
updated help articles to learn more about the redesigned upcoming Wix Blocks workspace.
Add properties to your widget so that site owners can access and change them in the widget settings panel. Site owners can also use the
Connect to Data feature to link properties to their data collections.
To add a new property, in the
Widget API pane, hover over
PROPERTIES and click
 .
.
Learn more about the Widget API.
.
Learn more about the Widget API.
Types of Properties
These are the types of properties you can add to your widgets:
- Text: String values.
- Number: Number values, without spaces or special characters except for -, to indicate a negative value.
- Boolean: Either true or false.
- Image: The URL for the source of the image. The format for the URL is described here.
- Date and Time: See Date and Time Conventions.
- URL: In the format http(s)://www.<domainname>.<topleveldomain>, such as www.wix.com
- Custom: A highly-flexible property type that you design around the needs of your app.
- List: An array of any single type listed above.
The Custom and List property types are described in more detail below.
Custom Property Types
You can create custom property types that fit the requirements of your app. For example, you may want to make a type that represents a person, or a shoe. The Person type could include, Name (text), Address (text), Age (Number). The Shoe type could include NameOfShoe (text), Model (text or number, depending on your catalog), Size (number), Color (text).
Creating Custom Property Types
- In the Wix Blocks left panel, expand Custom Types, and select Add New Custom Type.
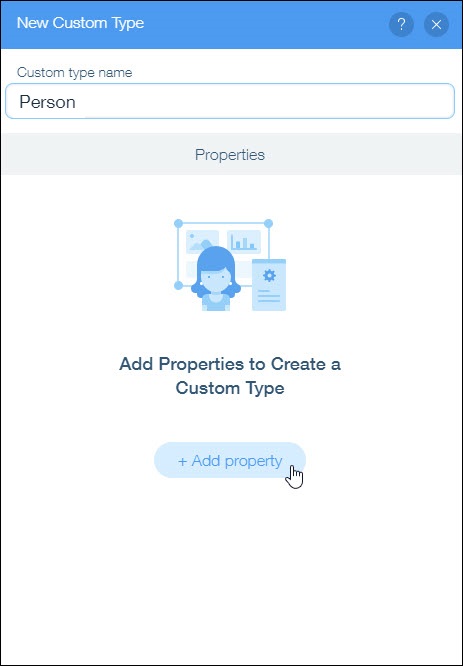
- Name the custom type, and select Add property to start adding properties to the custom type.
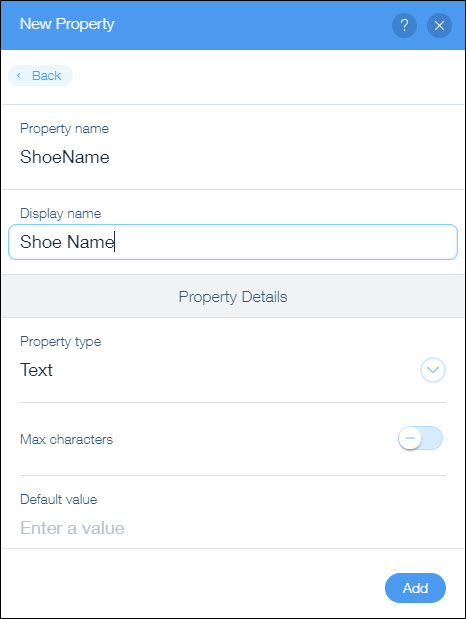
- Complete the new property page and click Add.
- Click + Add Property and repeat this process, until you've added all of your required properties for the custom type.
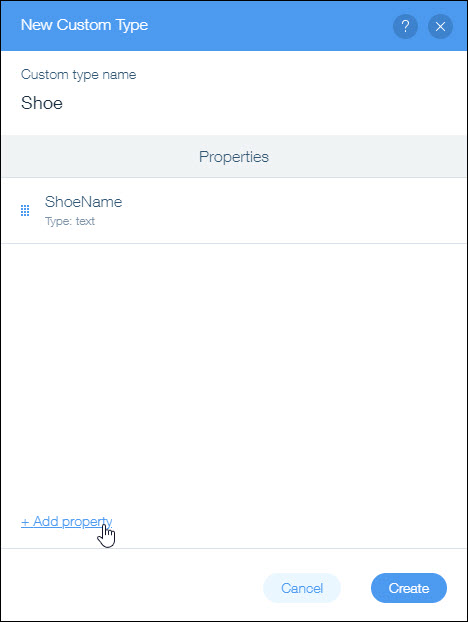
- Click Create to complete the process.
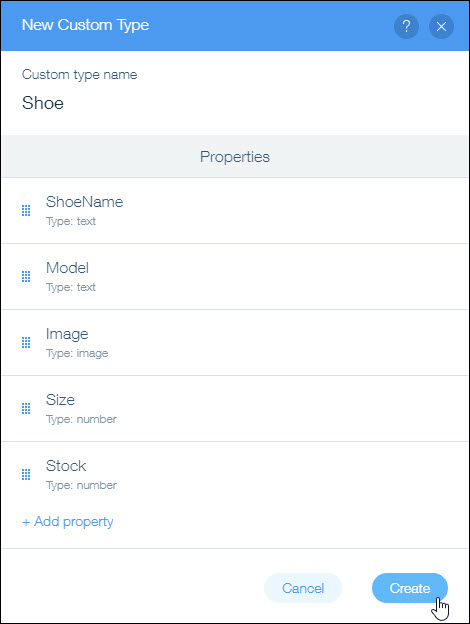
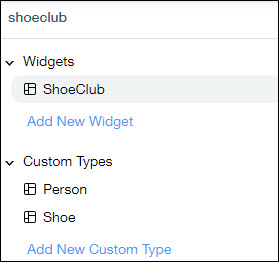
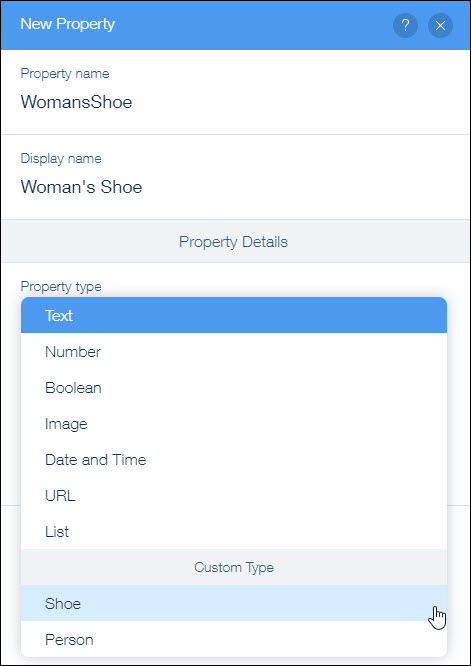
When you add a property to the Widget API, your custom types appear in the
Type drop-down:
Editing Custom Types
Delete a custom type by hovering over the
... more menu next to the type and selecting
Delete. You can only delete a custom type if no Widget API properties are of that type.
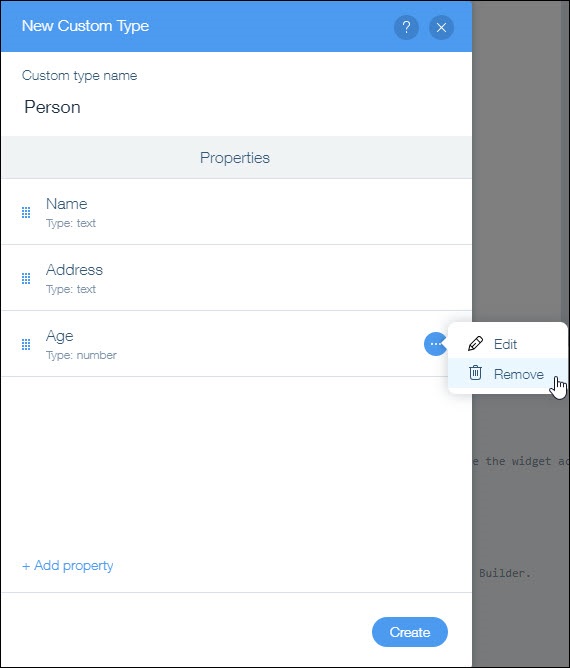
Edit a custom type by hovering over the
... more menu next to the type and selecting
Edit. You can then edit or remove any of the properties in that type.
Important
- If you remove a property from your custom type, it is removed from Widget API properties of the custom type. If you add a property to your custom type, it is automatically added to existing Widget API properties of that custom type.
- If you change the name of the custom type it is automatically changed in each Widget API property that is of that type.
Settings Panels with Custom Types
Widgets that site owners add to websites have setting panels that show the name of the property that you created, and the ability to edit all of the different types of values in that property.

List Property Type
Sometimes you need a property that can contain a list of items, for example, colors, sizes or locations. The list type can contain a list of items of a single type, such as text strings, numbers, or values of a custom type.
To create a list property:
To create a list property:
- In the Widget API pane, hover over PROPERTIES and click .
- From the Property type drop-down, select List.
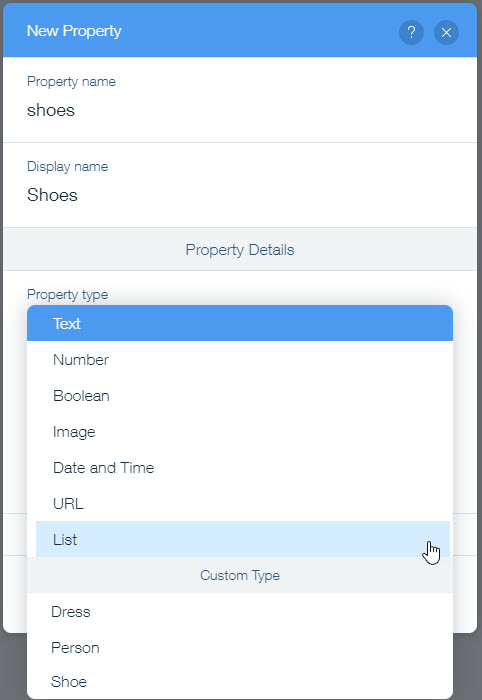
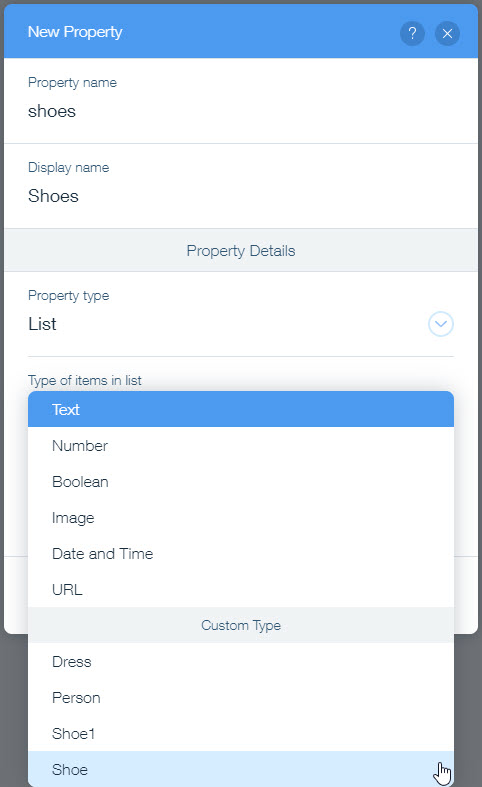
- When you select List you are prompted to specify the Type of items in the list. Select the type from the drop-down. For example, if you're creating a list of locations, choose Text; a list of sizes, choose Number. You can also choose to create a list of Custom Type from the bottom of the drop-down.
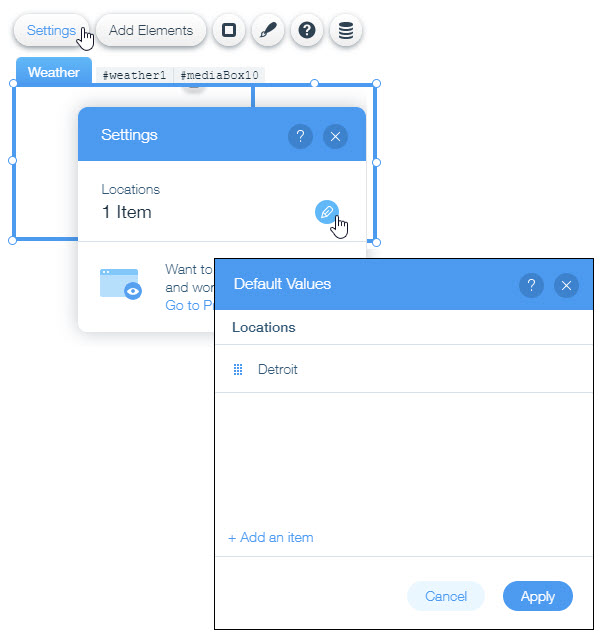
- You can add items to the list, or leave that to the site owner when they install the widget. The site owner can edit the items you added, and add their own, as shown here: