Wix Studio: Creating and Managing Invoices
5 min read
Create, send, and track invoices while managing your clients' payments in Wix Studio. Personalize invoices and email them directly to your clients, who can conveniently view and pay their invoices through a custom link.
Note:
This feature is available to Partners who are part of the Wix Marketplace.
Before you begin:
Make sure your Wix Studio workspace is connected to a payment method so you can get paid online. To set up a payment method, go to Invoices in your Wix Studio workspace, click More Actions at the top right and click Accept payments.
In this article, learn more about:
Creating and sending invoices to clients
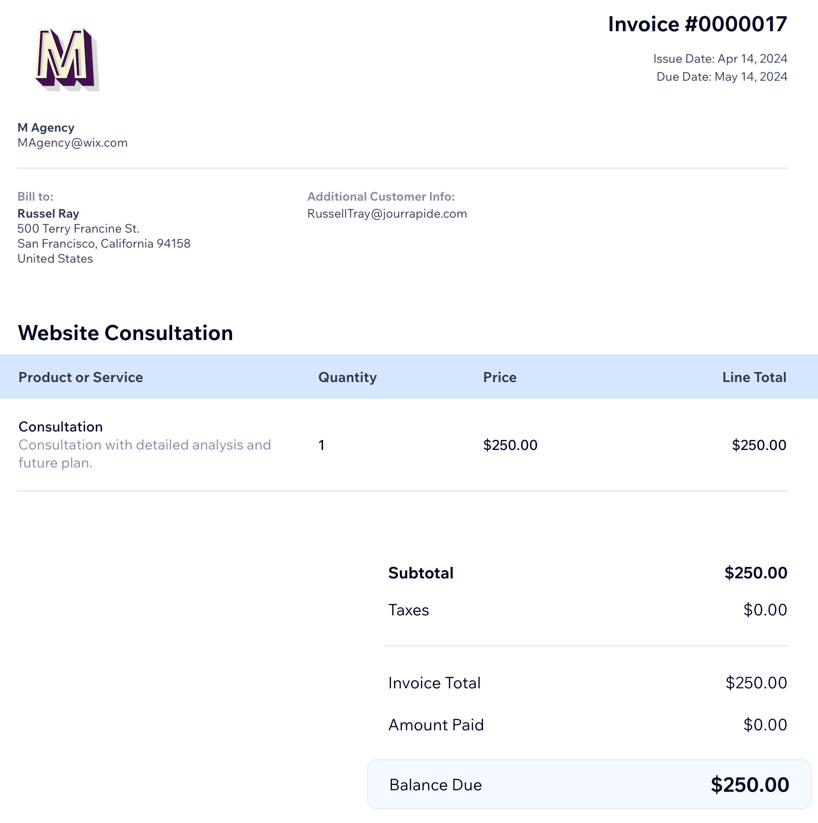
Create an invoice and send it to your client. Your clients receive an email with their invoice and a link to complete the payment and you get paid online.
To create an invoice:
- Go to Marketplace Overview in your Wix Studio workspace.
- Click the Invoices tab on the left.
- Click Create New at the top right and select Invoice.
Tip: You can also create recurring invoices to get paid on a weekly, monthly or yearly basis. - Enter the following details for this invoice:
- Due Date: Choose a due date for the invoice.
- Customer: Choose a client for this invoice.
- Invoice title: Enter a title for this invoice.
- Add the products or services for this invoice:
- Product or Service: Select a product or service to add to the invoice.
Tip: Select + Add New to create a new item. Then enter the details and click Save. - Quantity: Enter the quantity of the product or service.
- Price: Enter a price for the product or service.
- (Optional) + Add Tax: Add one or two tax rates to the line item.
- (Optional) Write a description: Enter additional details about the product or service.
- (Optional) + Add Line Item: Add additional products or services to your invoice.
- (Optional) + Add Discount: Apply a percentage discount to the total amount.
- Product or Service: Select a product or service to add to the invoice.
- Enter additional info for the invoice:
- Notes: Enter any notes you'd like your client to be aware of.
- Terms: Enter any terms that apply to this invoice.
- Choose to preview, save, collect payment or send your invoice:
- Preview: Click Preview at the top right to see the invoice your client will receive.
- Save: Click Save & Close at the top right to save the invoice to send at a later time.
- Collect Payment: Choose whether to charge your client with a credit card or record receipt of payment for this invoice.
- Send: Click Send Invoice at the top right to first review or edit the content of the email your client will receive with the invoice. Click Send when you're ready to send.
Managing your invoices
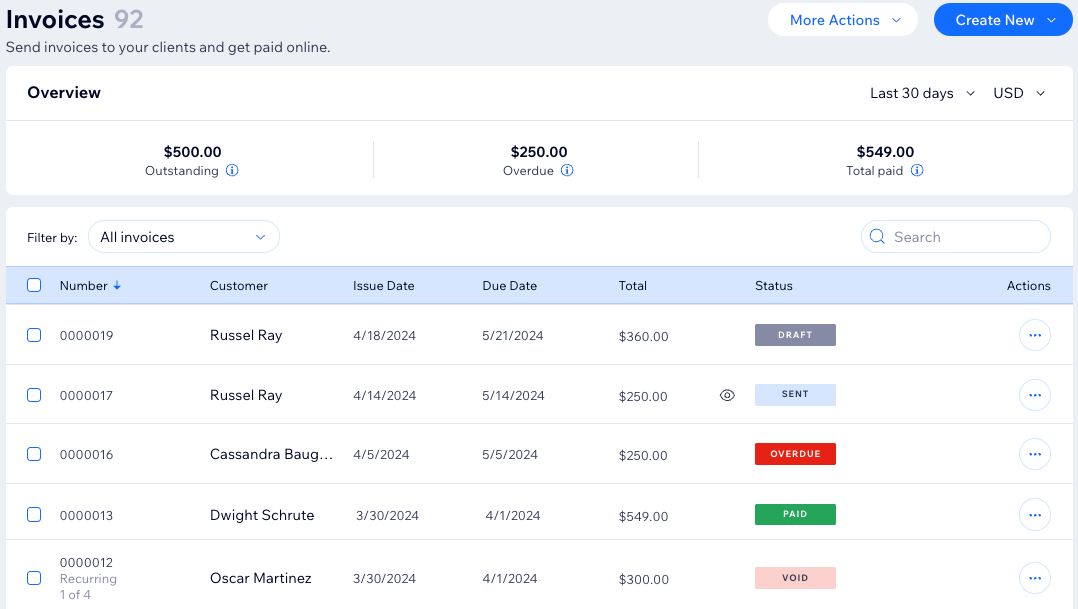
Keep track of your invoices and get an overview of outstanding, overdue and total paid invoices. Make edits and then resend an invoice by email or share via a unique link. Duplicate an existing invoice to save time when creating a new one. Charge a client's card directly from their invoice, and more.
To manage your invoices:
- Go to Marketplace Overview in your Wix Studio workspace.
- Click the Invoices tab on the left.
- Click the More Actions icon
 next to the invoice.
 - Select an action (e.g. resend via email or share link, record payment or charge with a credit card, edit or cancel).
Note:
Different actions are available depending on the status of the invoice. For example, you can't edit an invoice that's already been paid or voided.
Frequently Asked Questions (FAQs)
Click on a question below to learn more about invoices in Wix Studio.
How do I know if my client received my invoice?
 appears if your client opened the invoice. Hover over the icon for more information.
Can I customize my invoices?
How can I charge my client's credit card in Wix Studio?

Can I mark an invoice as paid?

Did this help?
|