ADI: Managing Your Site Menu
6 min read
In this article
- Adding items to your menu
- Changing the text on your menu
- Showing or hiding your site menu
- Hiding a page from your menu
- Hiding a section from your menu
- FAQs
Your site menu allows visitors to navigate through your site. You can hide and rename menu items, set items as sub-items and create a drop-down menu, and even change which page of your site acts as your homepage.
- For multi-page sites: The menu items are the page names. When you add a new page to your site, the page name is added to the menu.
- For one-page sites: The menu items are the names of the page sections on your site. When you add a new section to your site, the section name is added to the menu. If you add a new page, your menu acts as it would for a multi-page site, and you see the page names instead.
In this article, learn more about:
Adding items to your menu
Your site's menu helps visitors navigate around your site. You can add links to your menu to direct visitors to different places on your site (e.g.,a specific page or a section on a page) or outside of your site (e.g., to an external URL, a document or an email address).
To add a menu item:
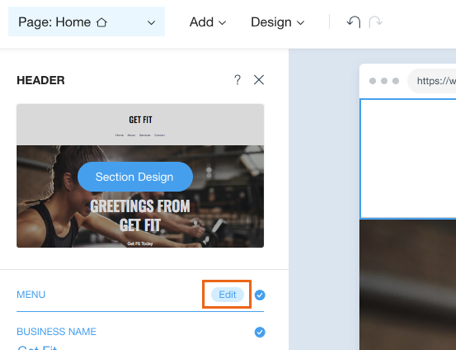
- Click the header section inside ADI (at the top of your site).
- Click Edit next to Menu.
- Click Add Menu Item on the bottom of the panel.
- Select where you want the link to connect to:
- None: Creates an unlinked item on your header.
- Page: Select a page within the site and where on the page it links to.
Note: You will not see an option to select a page section if you have a one-page site. - Web Address: Creates a link to an external website.
- Document: Lets you link to an external document (E.g. .docx, .xls, .ppt, .pdf, etc.)
- Email: Create a link to an email of your choice
- Phone: Creates a link to a phone number you can dial to via an external app.
Note: People that visit your site on mobile can call you. - PayPal Donations: Connect a PayPal email address with currency and amount.
- Click Done.
- Type the title for your item. This title is displayed on your menu.

Changing the text on your menu
Your menu text is taken directly from your site's page or section names. You can change the text on your menu items from the Menu panel.
The way to change the text on your menu items is different depending on if you have just one page on your site, or if you have more than one page. Follow the steps below to learn more.
To change the text on your menu:
- Click the header of your site in the ADI builder.
- Click Edit next to Menu.
- Hover over the relevant item and click the More Actions icon
 .
. - Click Rename Item.
- Type in a new name of your item and press Enter on your keyboard.
Note:
Changing the name of a menu item also changes the page's URL.
Showing or hiding your site menu
Your menu is always at the top of your site in the header and it displays your site's page names or sections of your page (if you only have one page on your site). When your visitors click a menu item, they are directed to that page or section of your site.
You can choose to show or hide your site menu. You may not want a menu on your site if you are creating a one-page site, or creating a landing page.
To show or hide your site menu:
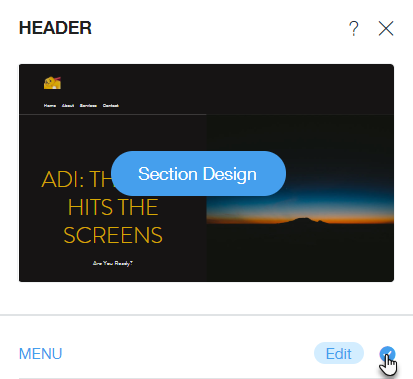
- Click the header section at the top of your site inside ADI.
- Click the Edit icon
 .
. - Click the Menu toggle to show or hide the menu.
Hiding a page from your menu
When you have a site with multiple pages, each page name appears in the menu. You can easily hide a page from your site menu. When you hide a page from your site menu, you make it inaccessible when viewing your live site. In terms of design, you can hide a page temporarily while it's under construction until you are comfortable with it's final version.
To hide a page from your site menu:
- Click the header at the top of your site in ADI.
- Click Edit next to Site Menu.
- Hover over the page/item you want to hide and click the More Actions
 icon.
icon. - Click Hide Item.
Hiding a section from your menu
When you have a one-page site, each section name appears in the site menu You can easily hide a section from your site menu. When you hide a section from your one-page site menu, you make it inaccessible to site visitors. Your section also has text and media elements that can be hidden individually.
To hide a section from your one-page site menu:
- Click the relevant section.
- Click the Show/Hide icon
 next to Show in Menu.
You can hide any section from your menu except for:
- The first section
- Sections with apps such as Wix Stores or Bookings
- Third-party app sections such as Instagram
FAQs
Click a question below to learn more.
How can I change the home page of my site?
 icon.
icon.What's the difference between a page name and page title?
