Wix Mobile Apps: Designing Your Own App
7 min read
Customize your app's branding to match your business and help it stand out from the crowd.
You can update your app's title and icon to give your members something to remember on their mobile screens. You can also design launch and login screens, and pick an on-brand theme color, to enforce brand recognition.
Important:
You must design your app (e.g. logo, launch screen) before you submit your app for review. If you want to change the design later, you must resubmit it for another review. However, you can change the features of the app (layout, content) at any time that automatically updates to the live app.
Tip:
Learn all about the benefits of creating your own native app as well as how to build one with our video tutorial.
Step 1 | Choose your app's name and icon
Start by choosing a name and icon for your app. These are the first things your users will see. You can use your business logo or an alternative image as long as it's clear what your app is. Using your business name can help boost recognition.
You can change it later.
You can change it later.
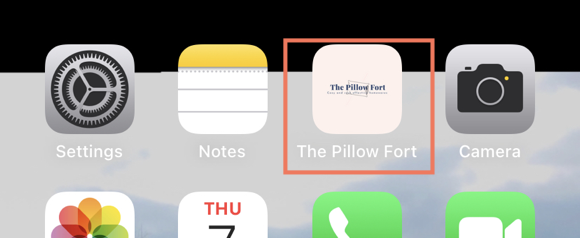
To choose your app's name and icon:
- Go to Mobile App in your dashboard.
- Click the Your own mobile app. tab
- Enter your app's name and upload an image as your app icon. Then click Next.
Note: Make sure your app name sticks to Apple and Google's guidelines to prevent it from being rejected. Learn more about the guidelines for naming your app. - Choose a theme for your app. Pick a theme combination of colors and fonts for your app design. Then click Next.
- Choose a navigation layout for your app: Bottom tab bar or Top tab bar. Then click Next.
- Scan the QR code to preview your app.
- Click Continue to Edit App.
Note:
Make sure your app icon does not have a transparent background. Icons with transparent backgrounds will be rejected by Apple.
Step 2 | Choose your app's branding
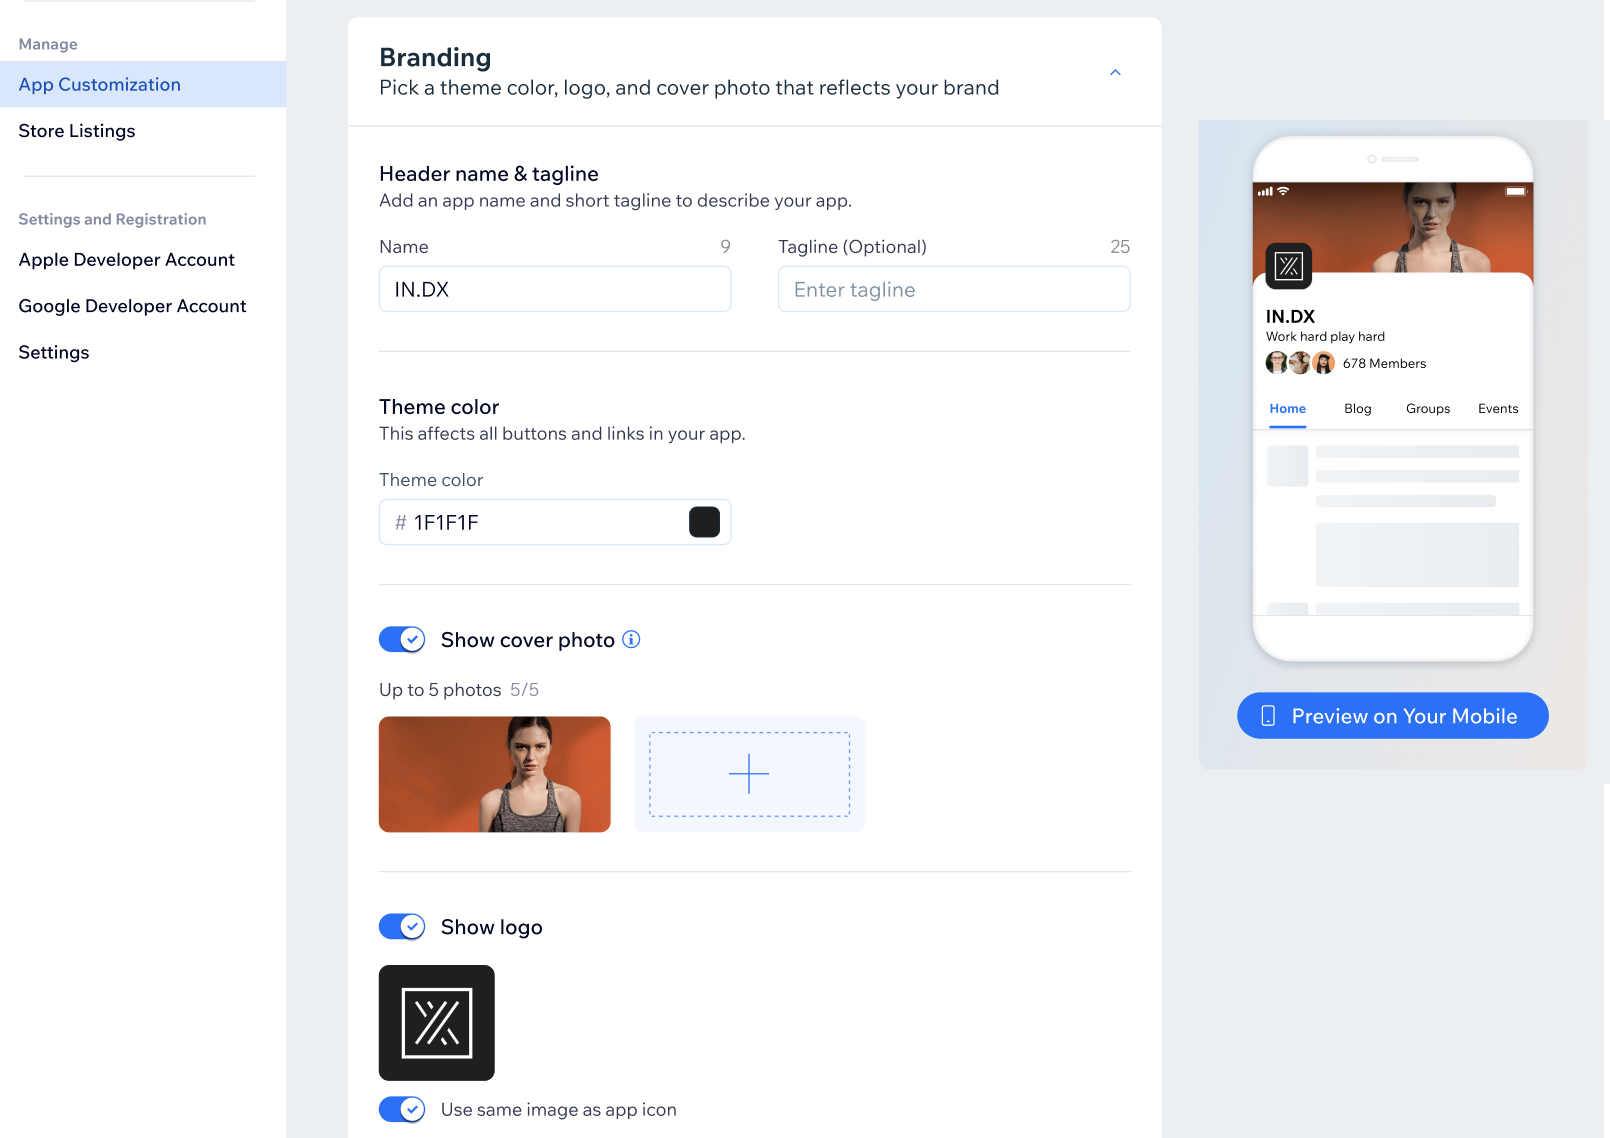
Branding allows you to design the home screen of your app with a theme color, cover photo, and logo that matches your brand. A great brand influences how members see your business and identify with your app.
Note:
Any changes you make to branding also affect any other member apps your members might be using (e.g. the Spaces App).
To choose your branding:
- Go to Mobile App in your dashboard.
- Click the Your own mobile app tab or click the tab with the name of your own mobile app.
- Click Get started.
- Customize your app's branding and your header using the following options:
- Header name & tagline: Enter an app name and an optional tagline to describe your app.
- Theme color: Choose a color that appears in all the buttons and links in your app.
- Cover photo: Click the Add icon
 to choose an image. The image will feature as the main photo in your app's header. You can select up to 5 photos to feature on rotation.
- Transition delay: If you have multiple photos, choose how long (in seconds) the delay is before the photos change.
- App header:
- Show logo: Click the Show logo toggle to display the logo in the app's header.
- Use same image as app icon: Click the Use same image as app icon toggle if you want the logo to be the same image as your app's home screen icon.
- Show member count: Enable the Show member count toggle to display the number of app members.
- Show member profile: Enable the Show member profile toggle to display the profile images of app members.
- Show invite button: Enable the Show invite toggle to add an invite button to your header where members can invite others to the app.
- Show custom button: Enable the Show custom button toggle to add a customized button to your header. For example, a custom button could contain a call to action like 'Get in Touch' and list your phone number.
- Show logo: Click the Show logo toggle to display the logo in the app's header.
- Click Save & Continue.
Step 3 | Design your app's launch screen
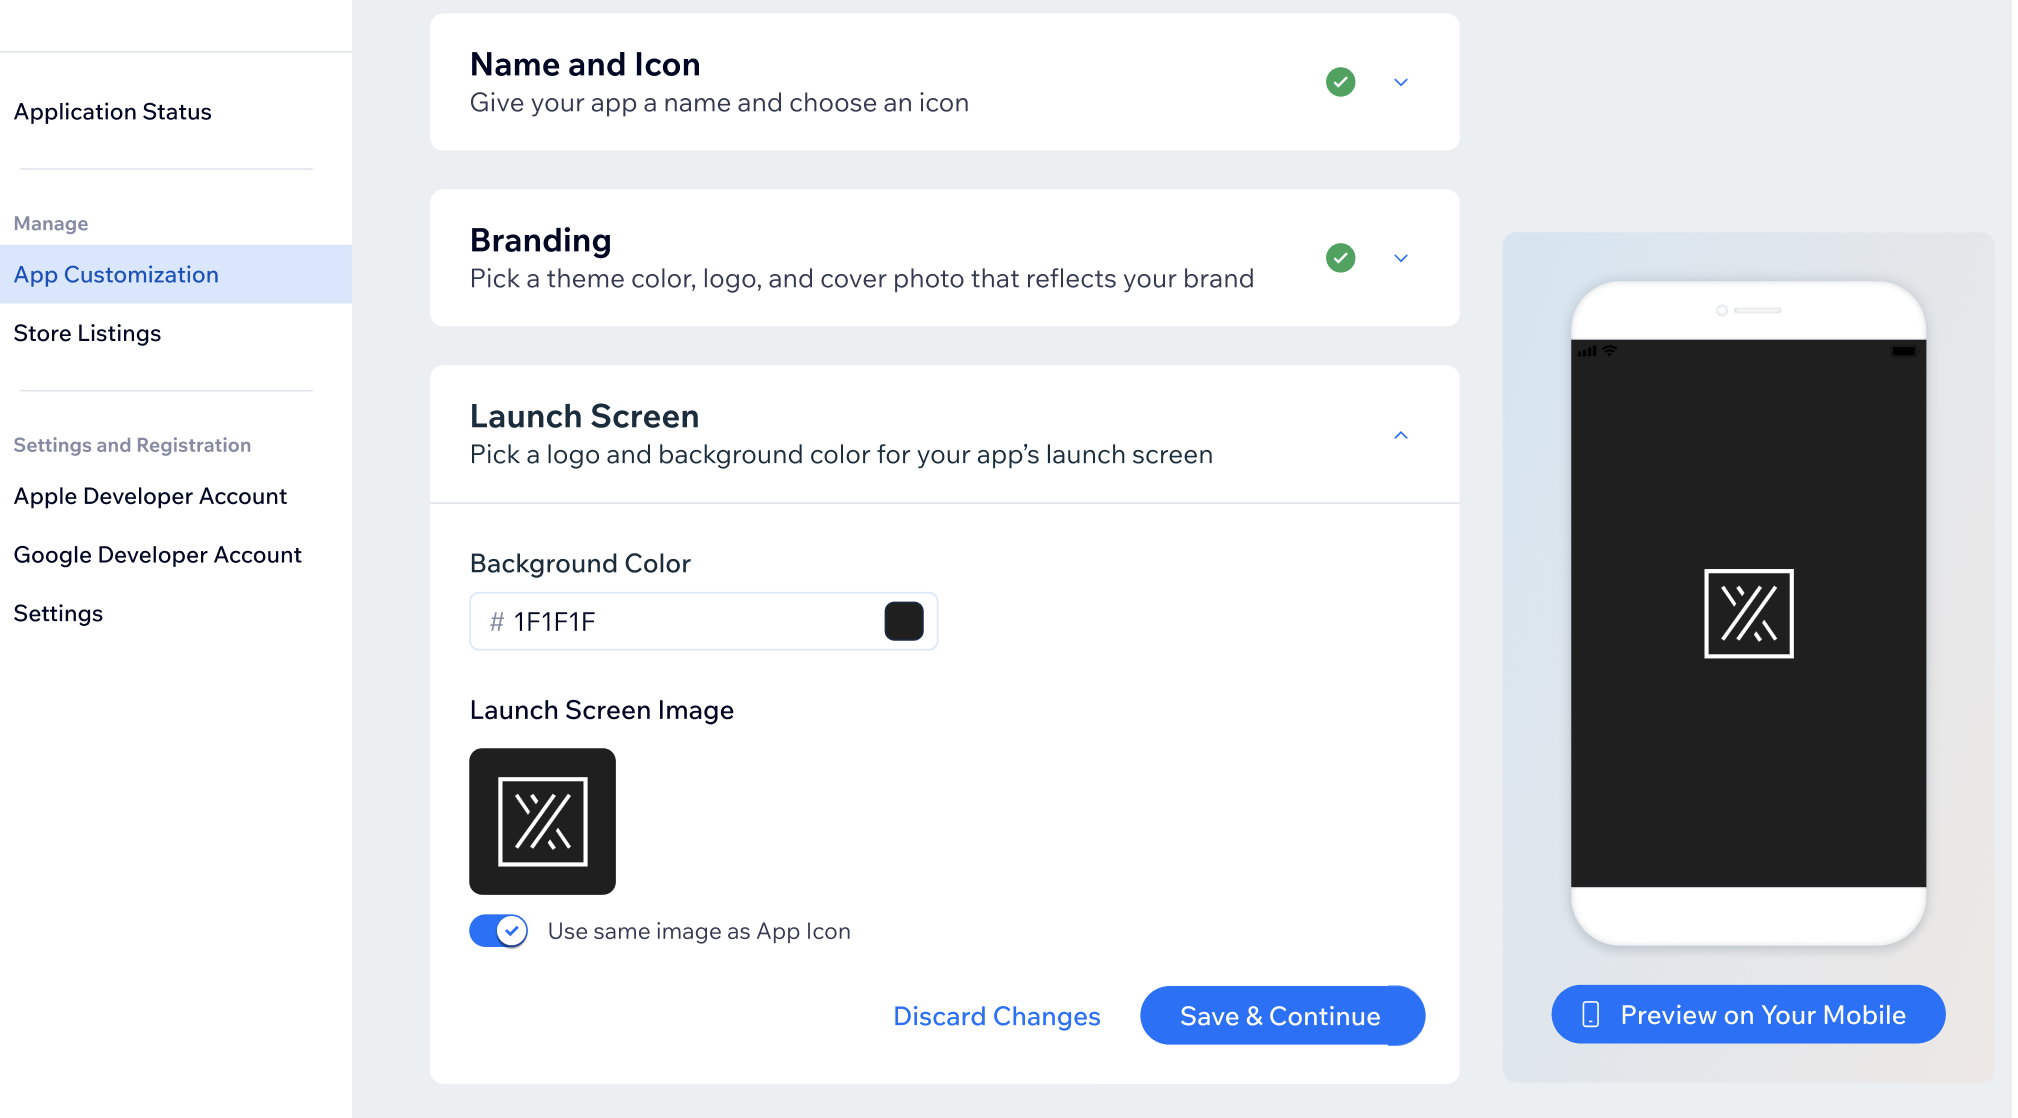
The launch screen is the first screen your members see when they open your app. You can choose a background color to match your brand, and an image that loads with it.
To design your launch screen:
- Go to Mobile App in your dashboard.
- Click the Your own mobile app tab or click the tab with the name of your own mobile app.
- Click Get started or click Edit Mobile App.
- Click the Launch screen drop-down.
- Click the color box under Background Color to choose which color appears upon launch.
- Click the Add icon
 under Launch Screen image to upload your logo, or choose an image from the Media Manager.
Tip: Don't have a logo? You can create a logo using Wix Logo Maker. - (Optional) Click the Use same image as App Icon toggle to use your launch screen image as your app icon.
- Click Save & Continue.
Step 4 | Design your app's login screen
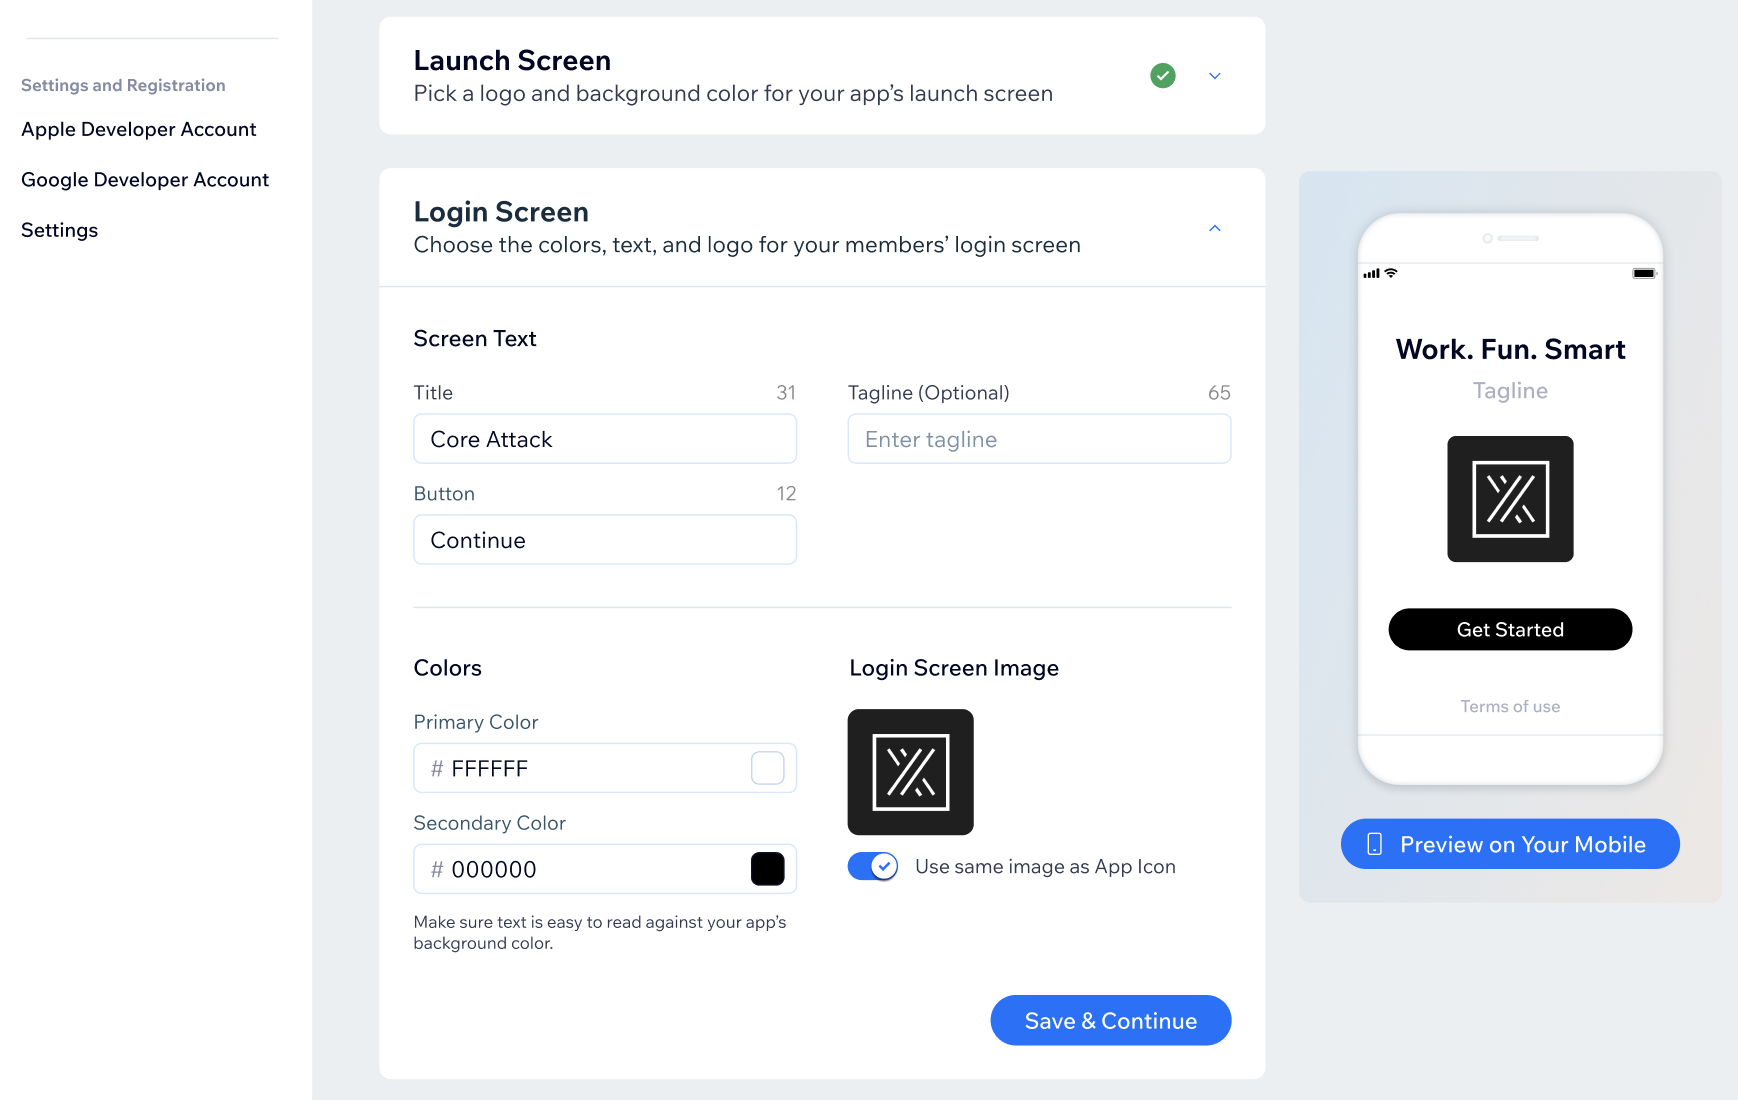
Your login screen is where members enter their credentials, or log in via social login, to access your own mobile app. You can customize the login screen experience for your members by updating the on-screen text, choosing colors that match your brand, and updating your login screen image as necessary.
Tip:
Your members will likely only experience the login screen once, so use it to make an impact about your brand.
To design your login screen:
- Go to Mobile App in your dashboard.
- Click the Your own mobile app tab or click the tab with the name of your own mobile app.
- Click Get started or click Edit Mobile App.
- Click App Customization on the left side.
- Click the Login Screen drop-down.
- Customize your login screen's screen text, sign up button text, colors and image using the following options:
- Enter the text for the login screen under Screen Text.
- Title: Enter your business name.
- Tagline: Enter the tagline for your business.
- Button: Enter the text for new members to log in.
- Choose the colors of your login screen under Colors.
- Primary Color: Choose the background color of your login screen.
- Secondary Color: Choose the color of the text and buttons.
- Click the Add icon
 under Login Screen Image to upload an image, or choose one from the Media Manager. You can also click the Use same image as App Icon toggle to use your launch screen image as your app icon.
- Enter the text for the login screen under Screen Text.
- Click Save & Continue.
Step 5 | Customize from the Wix app
Once you are happy with the design, you can update the content inside your app from the Wix app. Customize and manage all aspects of your app and prioritize the most important information you want to get across and the actions you want your members to take.
To customize your app from the Wix app:
- Go to your site in the Wix app.
- Tap Manage
 at the bottom.
 - Tap Mobile App.
- (If needed) Switch to editing your own mobile app:
- Tap the member app name at the top (e.g. Spaces by Wix App).
- Select Mobile App Builder or Create a native mobile app.
- (1st time only) Tap Get Started.
- Tap Edit.
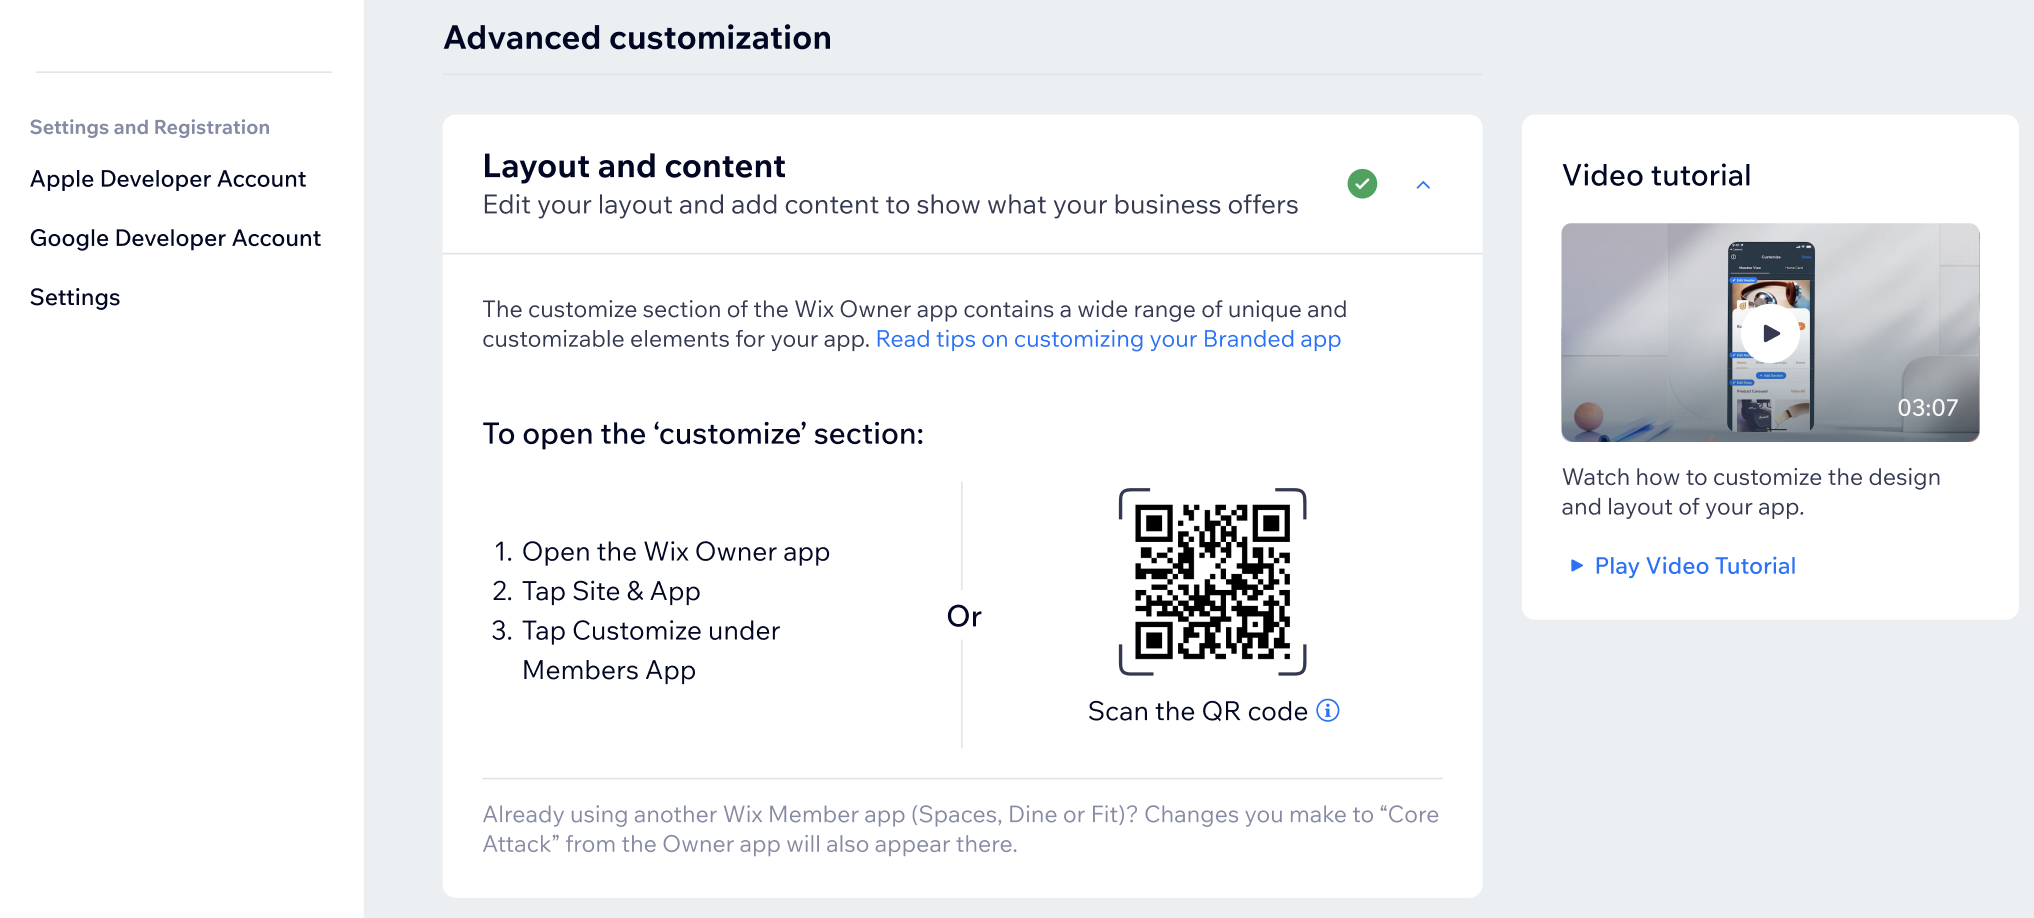
- Learn more about customizing the features and content of your own app.
Tips:
- Learn tips for customizing the features and content of your own app for your industry (online stores, restaurants, bookings & services, etc.)
- You can also choose to hire a professional from the Wix Marketplace to help design your own native app. Click Hire a Professional at the bottom of the dashboard to get started.
