


Wix Editor: Creating AI Generated Text
In this article
- Step 1 | Add text to your page
- Step 2 | Generate your AI text
- Step 3 | Review and adjust your text
- Frequently asked questions (FAQs)
Use AI (Artificial Intelligence) to generate text that is relevant to your brand or business needs. Enter important information and let the AI do the rest - so you can save time, without needing to compromise on content.
After you've generated and chosen your text, you can make additional edits to fit your brand voice and site look.
Did you know?
You can use the
AI Website Builder to create a custom dashboard and site, minimize build time and maximize your online potential.
Step 1 | Add text to your page
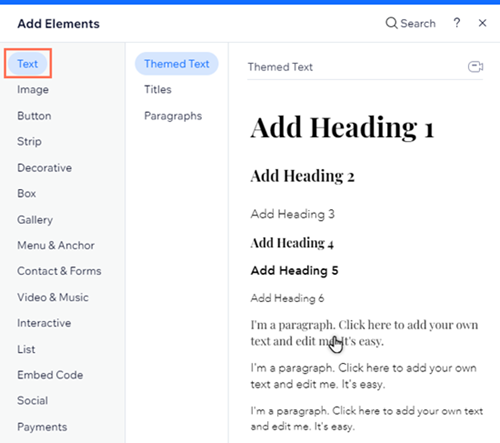
To get started, add a text element to your page. You can generate text from themed, title, and paragraph text boxes, so choose the best one for your content and design needs.
To add text:
- Open the relevant page in your editor.
- Click Add Elements
.
- Select Text.
- Click and drag your chosen text to add it to your page.
Step 2 | Generate your AI text
After you've added text to your page, use the panel to generate its content. You can input details such as the business type, and enter important terms to make sure you get the most relevant options for your brand.
To generate AI text:
- Click the text box in your editor.
- Click the AI Tools
 icon.
icon. - Choose from the following options:
Create new text with AI
 icon.
icon.
Improve existing text with AI
 to use it elsewhere.
Tip:
Click
Default tone to edit site name, site type and tone of voice being used by AI. You have the option to continue the chat as long as needed, allowing the AI to generate additional text until you are satisfied.
Step 3 | Review and adjust your text
Review your AI generated text to ensure it has all of the details you want, and that it suits your brand's tone. Depending on your needs, you can manually edit the content to ensure that your visitors have the most engaging and relevant information.
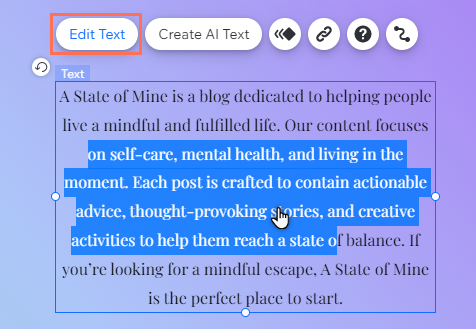
To edit generated text:
- Click the text box in your editor.
- Click Edit Text.
- Make the relevant changes to the text.
- Click anywhere outside the text box to save the changes.
Important to know:
You need to check and edit the text where necessary before you publish the changes to ensure:
- That it aligns with the Wix Terms of Use.
- That you have all the necessary rights and licenses in order to use and publish this content.
Frequently asked questions (FAQs)
Select an option below to learn more about AI generated text.
Does the panel save my settings?
Can I customize generated text?
What happened to the 'Get Text Ideas' button?
