Wix Editor: Adding and Setting up a Lightbox
5 min read
Add a pop-up lightbox to grab your visitors' attention and showcase important announcements and information. You can add elements to the pop-up message, decide when it's triggered, and even choose how visitors close it.
Step 1 | Add a lightbox
Add a lightbox to begin creating something interactive and informative for your site visitors. There are a range of templates and types to choose from, such as "Welcome" and "Contact".
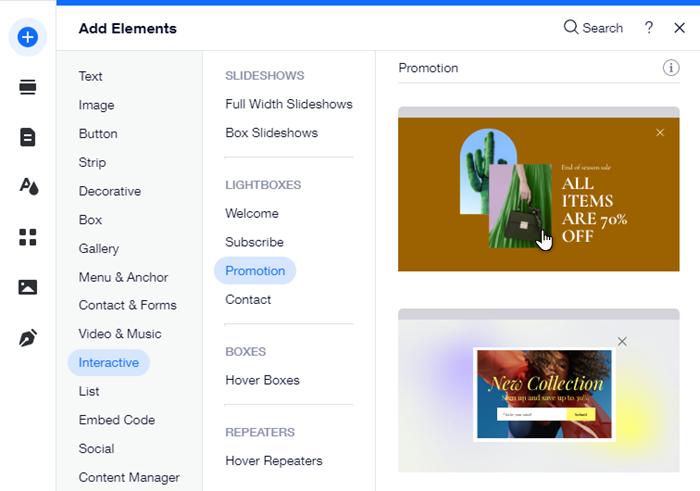
To add a lightbox:
- Click Add Elements
on the left side of the Editor.
- Click Interactive.
- Select a category under Lightbox.
- Click or drag your chosen lightbox to add it to your page.
Step 2 | Add elements to your lightbox
Add elements to your lightbox to build its content and look. Make sure that the element is smaller than the lightbox, so that it fits inside of it. You can add text, buttons, and more to make sure your lightbox has everything it needs.
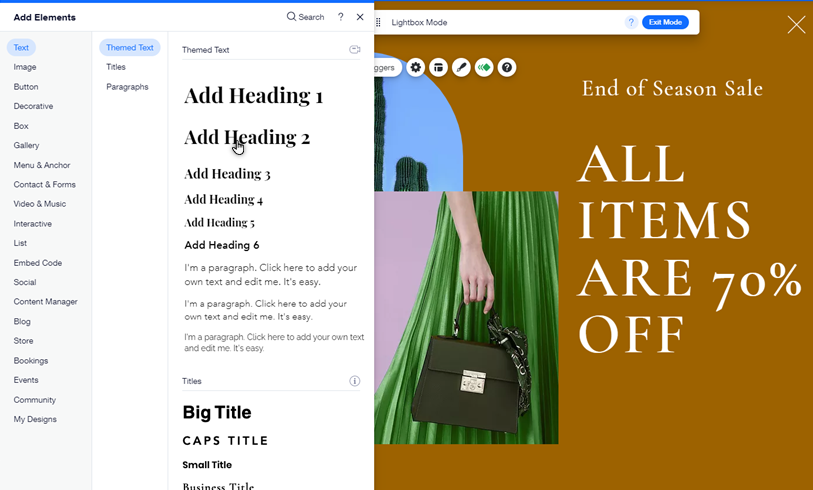
To add elements to a lightbox:
- Open the relevant lightbox from the Menus & Pages panel.
- Click Add Elements
on the left side of the Editor.
- Choose the element type from the options.
- Click and drag the element to your chosen location on the lightbox, and drop it when you see the "Attach to Lightbox" message.
Note:
When you add a lightbox, you enter Lightbox Mode. This allows you to set up and edit your lightbox. To go back to the regular Editor, click Exit Mode on the top bar.
Step 3 | Set the lightbox trigger
After designing your pop-up message, decide how your lightbox is opened. You can set it to show automatically once the page loads, or link it to an element that visitors need to click.
To set the lightbox trigger:
- Open the relevant lightbox from the Menus & Pages panel.
- Click the lightbox.
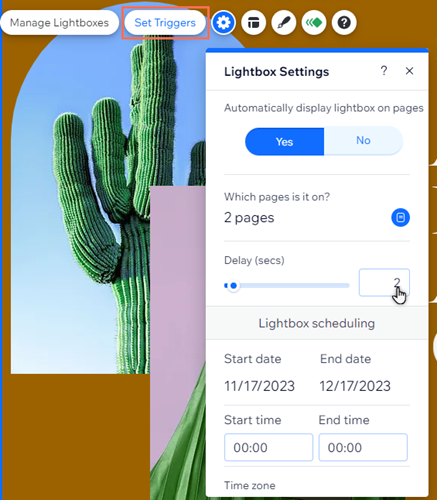
- Click Set Triggers.
- Click an option under Automatically display lightbox on pages:
- Yes: Your lightbox is displayed when a page loads.
- Click the Which pages is it on? field and select the pages you want the lightbox to appear on, or select the First page visitor sees checkbox.
- Drag the Delay slider to increase or decrease the time between the page loading and the lightbox appearing.
Note: This slider does not appear on all lightboxes.
- No: The lightbox does not appear when a site visitor enters a page. Instead, you can link to it from elements on your site.
- Yes: Your lightbox is displayed when a page loads.
- (Optional) Set a schedule for your lightbox. This is helpful for displaying offers or services that are available for a limited time:
- Dates: Use the options to select the start date and end date for your lightbox.
- Times: Select the start and end time for the lightbox schedule.
- Time zone: Choose your time zone from the options in the drop-down.
- Clear scheduling: Remove scheduling you previously added to the lightbox.
Step 4 | Choose how visitors close the lightbox
Choose how visitors close the lightbox after reading its message. You can select multiple ways to close the box, or just one. For example, you can let visitors click the overlay behind the lightbox to close it, while adding an 'Close' button that's more explicit.
To add a 'Close' button or 'X' icon to the lightbox:
- Open the relevant lightbox from the Menus & Pages panel.
- Click the lightbox.
- Click the Settings icon
.
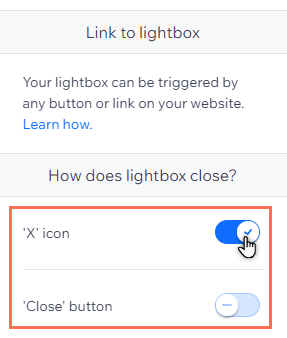
- Select an option under How does lightbox close?:
- 'X' icon: Visitors can close the lightbox by clicking an X icon.
- 'Close' button: Visitors can close the lightbox by clicking a Close button.
To allow visitors to close the lightbox from the overlay:
- Open the relevant lightbox from the Menus & Pages panel.
- Click the overlay (the space around your lightbox) in the Editor.
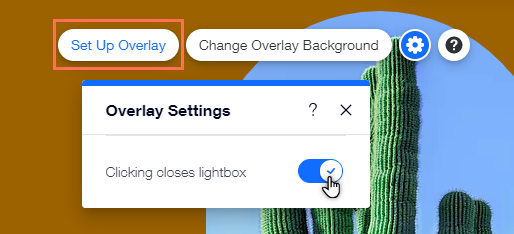
- Click Set Up Overlay.
- Click the Clicking closes lightbox toggle:
- Enabled: Your site visitors can click the overlay to close the lightbox.
- Disabled: Your site visitors cannot click the overlay to close the lightbox.
What's next?
Customize your lightbox's design and position to further personalize your site's announcements. Learn how to customize a lightbox
FAQs
Click below to read answers to our most frequently asked questions about lightboxes:
Can I set multiple lightboxes to show on a page?
Can I preview my lightbox before making the changes live?
Can I share a link to the lightbox?
Did this help?
|