Wix Automations: Creating a New Automation
11 min read
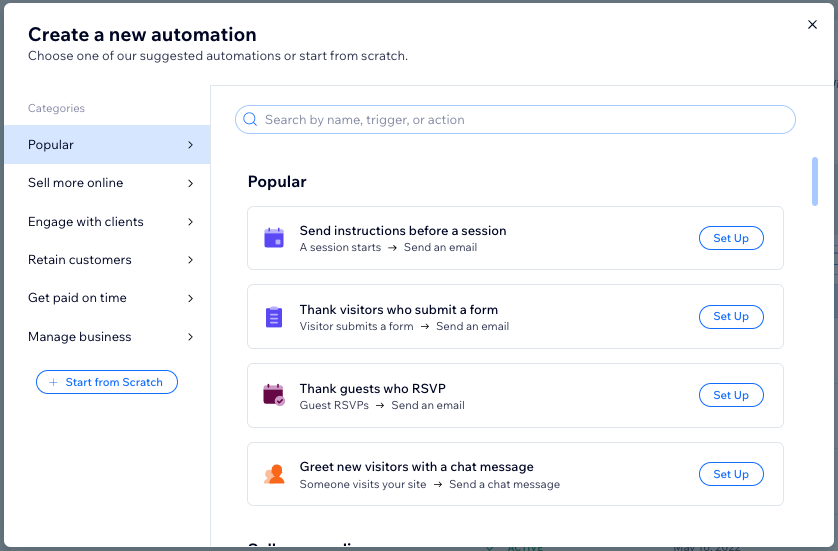
Create a new automation based on the way you'd like to grow or manage your business. Choose to create one from scratch or make edits to a suggested automation. When you begin to create an automation, you'll see suggested automations specific to your business type.
All automations consist of a trigger and an action. An automation's trigger is the event that causes the action to occur. The action is the response to the trigger.
An important factor of an automation is the timing. As the action occurs automatically, the timing needs to be set in advance. The action can take place immediately after the trigger, or after a predefined number of hours or days.
Example:
Joan has a monthly newsletter. She creates a newsletter subscription form to grow her mailing list. She wants to thank each subscriber as they sign up, but manually sending these emails would be impossible. Instead, she sets up an automation that automatically sends a 'thank you' message every time a new person subscribes.
Step 1 | Add a new automation
Any automations you create will appear in Automations in your site's dashboard. Make sure to choose a name that's memorable and can be understood by all of your site collaborators.
To add a new automation:
- Go to Automations in your site's dashboard.
- Click + New Automation in the top right corner.
- Click + Start from Scratch.
Note: To use a suggested automation, search and select from the options under Popular. You can edit the trigger and actions of a suggested automation.
- Click the title to give your automation a name.
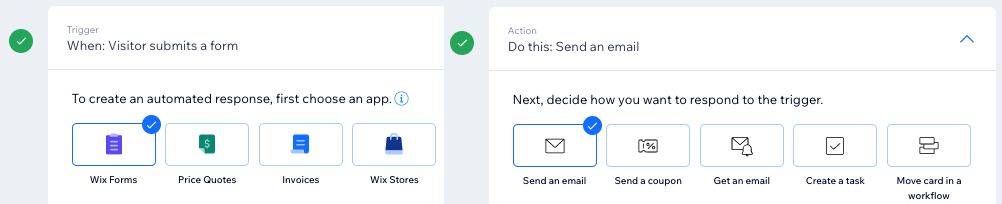
Step 2 | Choose a trigger
The trigger is the action or event that initiates the automatic response. This may be something that a visitor does on your site (for example, purchasing a product), or something you do (for example, creating an invoice).
The triggers you'll see listed differ depending on the app you're using (for example, Wix Forms, Wix Stores). Choose the app and then select one of the available triggers.
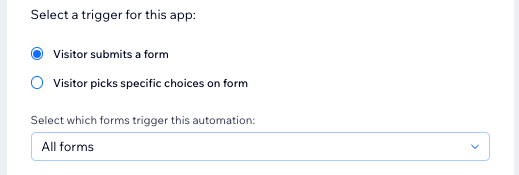
To choose a trigger:
- Click the app you'd like to base your trigger on in the Trigger section.

- Select your chosen trigger from the available options.
Note: These options will differ depending on the app you selected in step 1.
- Click the Limit frequency to drop-down to set trigger frequency:
- Don't limit (trigger every time): Your action will take place every time it is triggered by a visitor.
- Once per contact: Your action will take place only once per contact.
- Once per contact every 24hrs: Your action will take place only once per contact in any 24hr period.
Step 3 | (Optional) Add a delay
Choose when this action should occur. You may want to perform the action immediately after the trigger occurs, or set a delay to send it after a certain amount of time has passed. For example, if your trigger is "Customer abandons a cart" and your action is "Send an email", you would probably want this to be sent after a certain amount of time has passed.
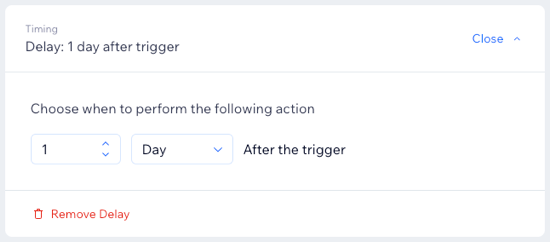
To add a delay to your automation:
- Click + Add Delay.
- Click the up and down arrows to set the number and click the drop-down to choose between days, hours and minutes.
Note:
If you don't add a delay, the action is performed as soon as the trigger occurs.
Step 4 | (Optional) Add a condition
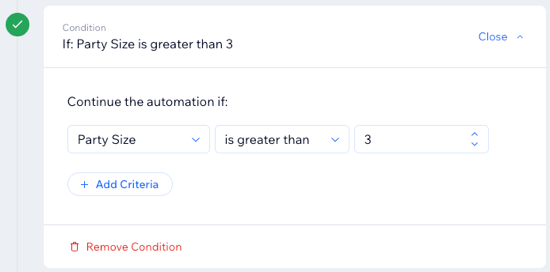
After choosing a trigger, you have the option to add a condition. Conditions allow you to set and manage complex automation flows.
For example, you use Wix Restaurants and have introduced a new sharing menu for tables of 4 guests and over. You'd like to send an email update to all customers who have made such bookings. By creating an email automation with the condition that a reservation is for a party size greater than 3, you're targeting this group of customers and not customers who have booked tables for smaller groups.
Note:
We are currently in the process of releasing conditions, so they are not available for all triggers yet. If you select a trigger and see + Add Condition, you can add a condition.
To add a condition:
- Click + Add Condition.
- Click the Select criteria drop-down and choose the criteria you want to use to decide whether this automation continues each time it's triggered.
- Click the drop-down that appears next to your criteria drop-down to select your operator (e.g. "is", "is not").
- Click the drop-down or text box that appears next to your operator drop-down to complete your condition. The logical statement you've created will determine whether the automation continues.
- (Optional) Click + Add Criteria to add any further criteria.
Tip:
Learn more about best practices for creating conditions.
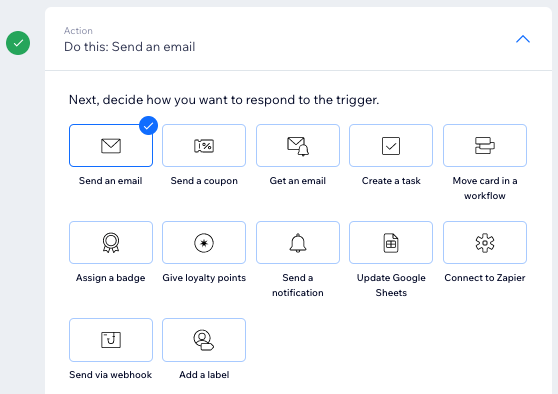
Step 5 | Choose an action
After choosing a trigger, decide how you want your site to react to that trigger. For example, if your trigger was 'Visitor submits a form on your site', you might want to send that visitor an automatic thank you email. Wix Automations offers several actions, each of which can be customized to suit your needs.
To choose an action:
- Click your chosen action in the Action section.
Note: The actions available will differ based on your trigger choice.
- Set up the action using the available options. Click the relevant action below to learn how:
Send an email


Send a chat message

Add a coupon

Get an email

Send an SMS
Create a task

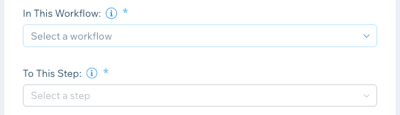
Move card in a workflow
Assign a badge

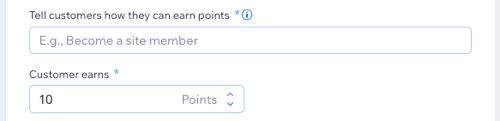
Give loyalty points
Update Google Sheets
Connect to Zapier
Send via webhook
Add a label

Send a push notification
Invite to a group
Want to create a follow-up action?
Add a chain of follow-up actions from the initial action.
Step 6 | Activate the automation
Click Activate to save and activate the automation. It now appears on your Automations page where you can edit, deactivate or delete according to your needs.
Want to learn more?
Check out courses in Wix Learn to learn more about using automations to manage customer relationships and setting up automated emails triggered by a shopper's behavior.
Did this help?
|