Wix Editor: Using the Layers Panel
4 min read
The Layers panel clearly lists all of the elements on your page. Depending on the page layout, the panel is divided into the header, main page, and footer, so you can view and select elements to adjust them as needed.
In this article, learn more about:
Using the Layers panel
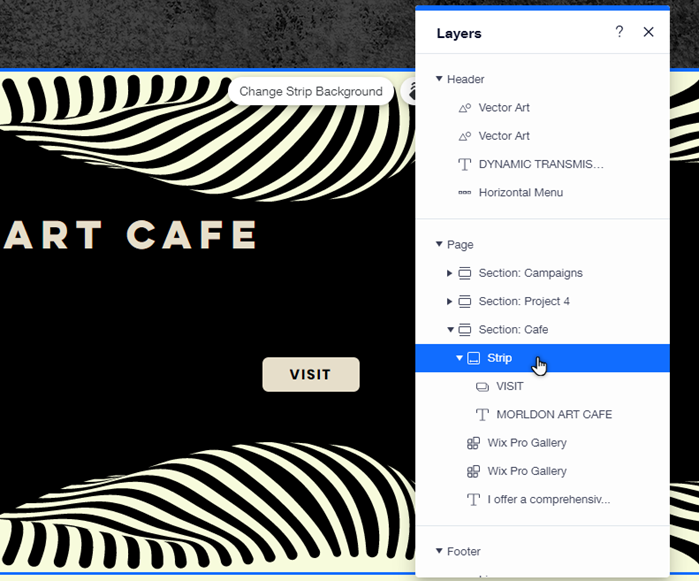
Use the Layers panel to select and manage elements on your site. This is a great way to locate elements, as well as rearrange them to suit your site's structure and alignment.
To use the panel:
- Click Layers
 on the bottom left of the Editor.
 - Click either Header, Page, or Footer to view the elements in that area.
- Locate the relevant element from the list and click it.
- Choose what you want to do with the element:
- Move the element forward / backward:
- Forward: Select Ctrl + ↑ on your keyboard to move the element forward. (Ctrl + Shift + ↑ if you want to bring it to the front)
- Backward: Select Ctrl + ↓ on your keyboard to move the element backward, ( Ctrl + Shift + ↓ if you want to send it to the back)
- Customize / adjust the element: Click the element in your Editor, and use the available options to adjust the content, layout, and design.
- Change the order of elements: Click and drag elements in the panel to change their order. This is a helpful way to ensure that the order in the panel matches the visual order on your site.
- Move the element forward / backward:
Working with elements in Dev mode
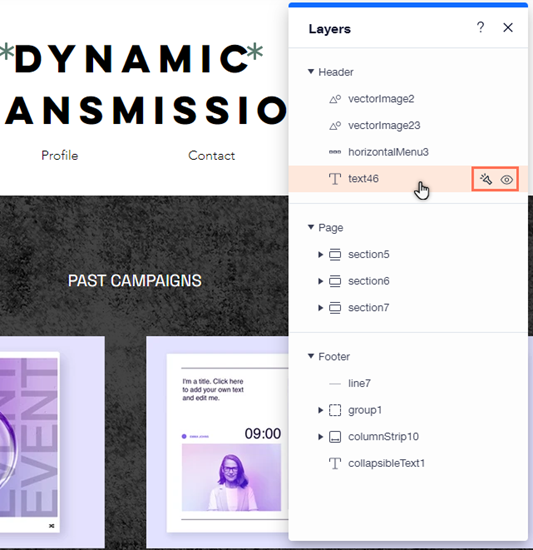
With the Layers panel in Dev mode, you have even more capabilities while editing your site, so you can focus on relevant elements. Temporarily hide an element from your Editor, or focus on a single element by hiding the other content on your page.
Did you know?
The panel lists the elements on your page based on their ID that you assign in the Properties panel, and grouped elements are displayed under their group ID.
To work with the panel in Dev mode:
- Click Layers on the bottom left of the Editor.
- Click either Header, Page, or Footer to view the elements in that area.
- Locate the relevant element from the list and click it.
- Choose what you want to do with the element:
- Temporarily hide an element: Hover over the element in the Layers panel, and click the Hide in Editor icon
 . You can click the icon again to show the element when needed.
 - Focus on an element: Click the Spotlight icon
next to the element you want to focus on to hide all of the other elements on the page. You can turn off Spotlight by clicking the icon again.
- Temporarily hide an element: Hover over the element in the Layers panel, and click the Hide in Editor icon
What's next?
- When you select an element in the Layers panel, it's also selected in the Properties panel. This lets you work with the properties of an element that's placed behind other elements, without needing to move things around.
- Visit the Velo by Wix Resource Center to onboard and continue learning.
FAQs
Click a question below to learn more about using the layers panel in your Editor and with Dev mode.
How many elements can I select at a time in the panel?
Where can I find elements that are attached to section / containers, or are in a group?
Does hiding elements / using the Spotlight function in Dev mode affect my live site?
Did this help?
|