Studio Two Editor: Stacking Elements
This article refers to the new Studio Two Editor, released in November 2026. If you're unsure whether you’re using the Studio Editor or the Studio Two Editor, view more information here.
Stacks let you group elements so they stay arranged together as one unit. They’re especially useful for side-by-side content, such as text next to an image, or dynamic content that needs to keep its layout as your site adjusts across screen sizes.
Creating a stack
Create a stack to keep related elements together and control their spacing as a group. This is especially helpful when elements need to stay side by side and keep a consistent layout.
To create a stack:
Select the first element you want to stack.
Hold the Shift key while clicking the other elements you want to stack.
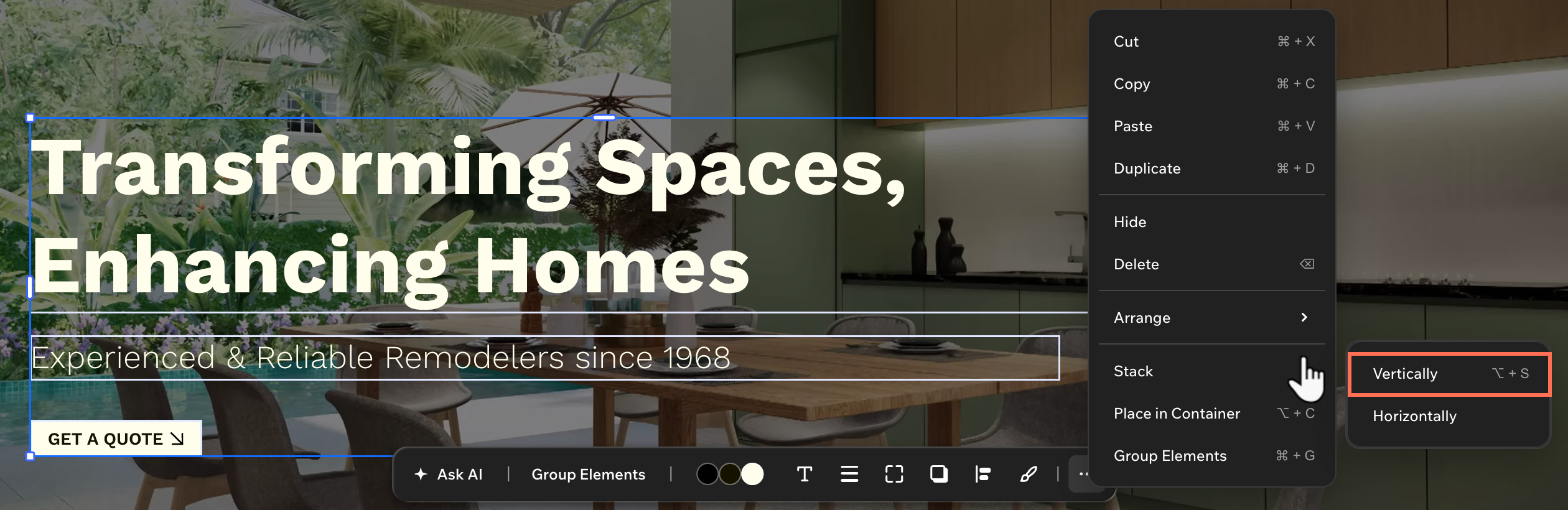
Click the More Actions icon on the action bar.
Hover over Stack and choose Vertically or Horizontally.
 on the action bar.
When elements are close together and aligned along the same axis, a Stack icon  appears on the canvas. Hover over it to review the suggested elements, then click to create the stack.
Managing a stack
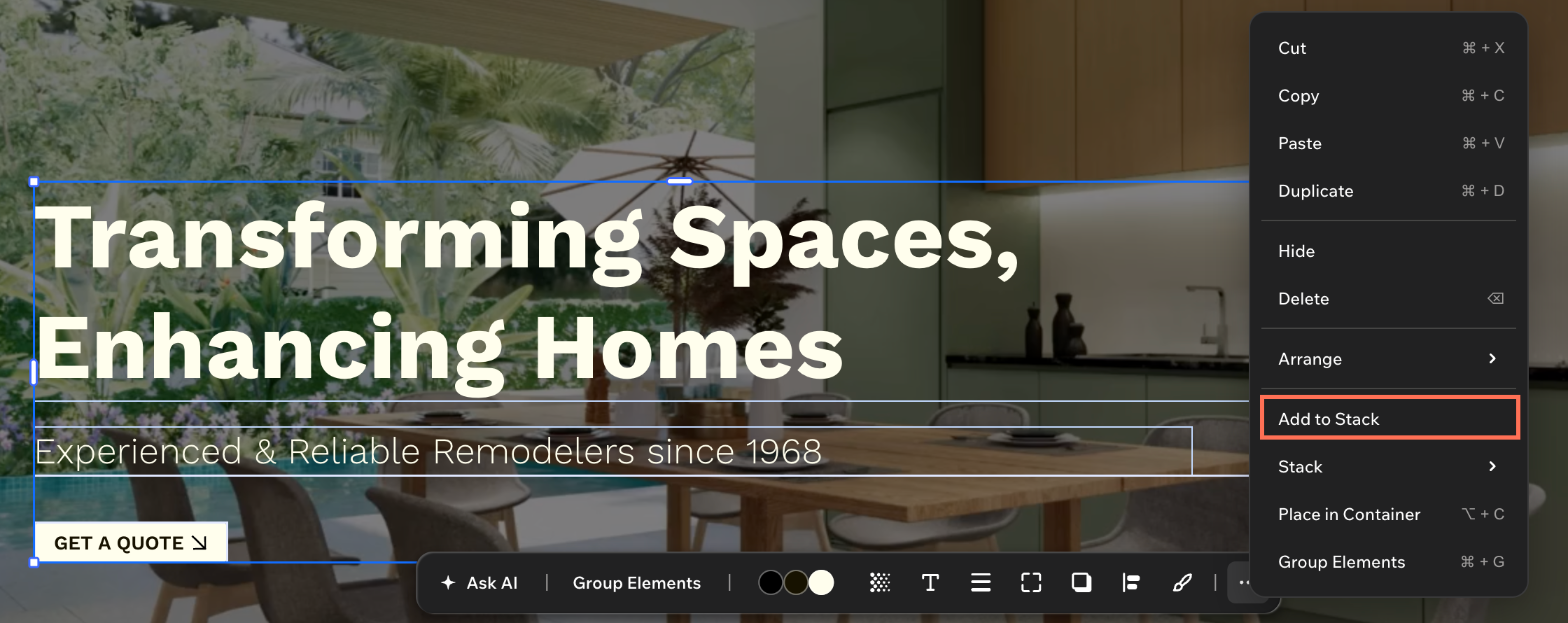
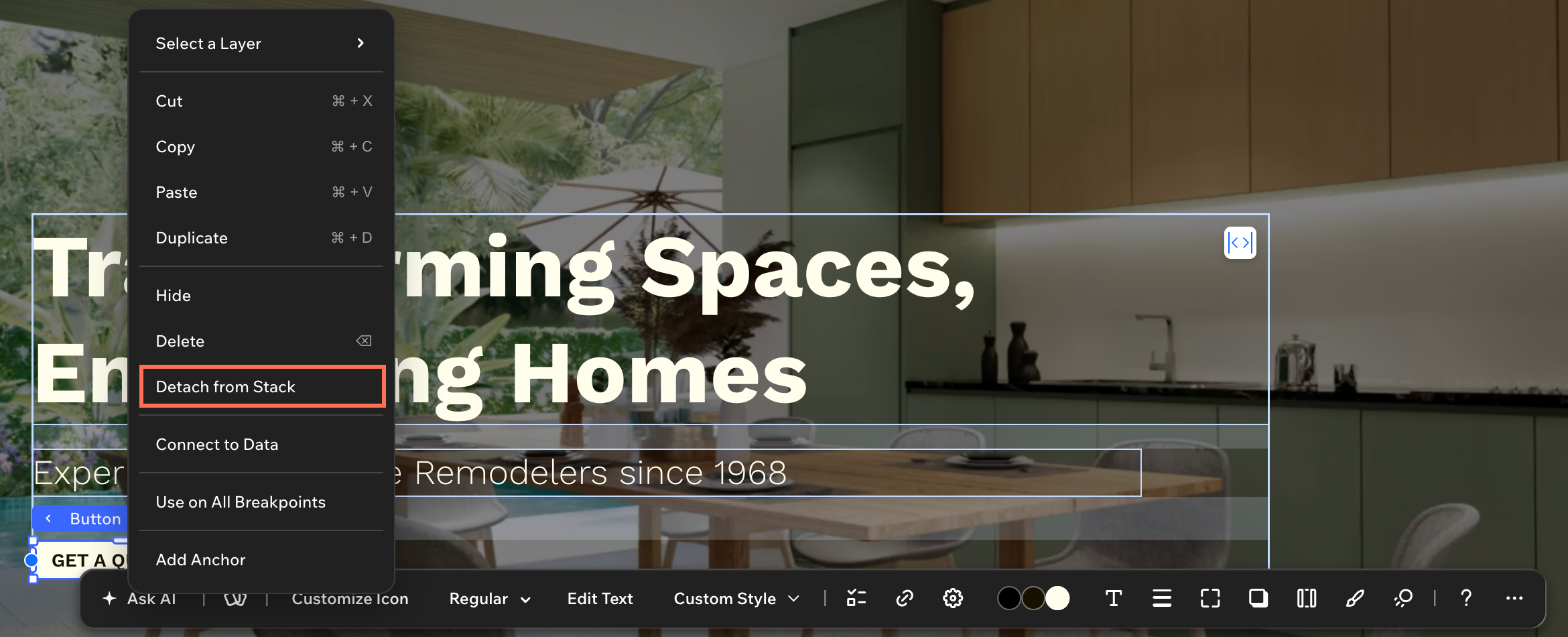
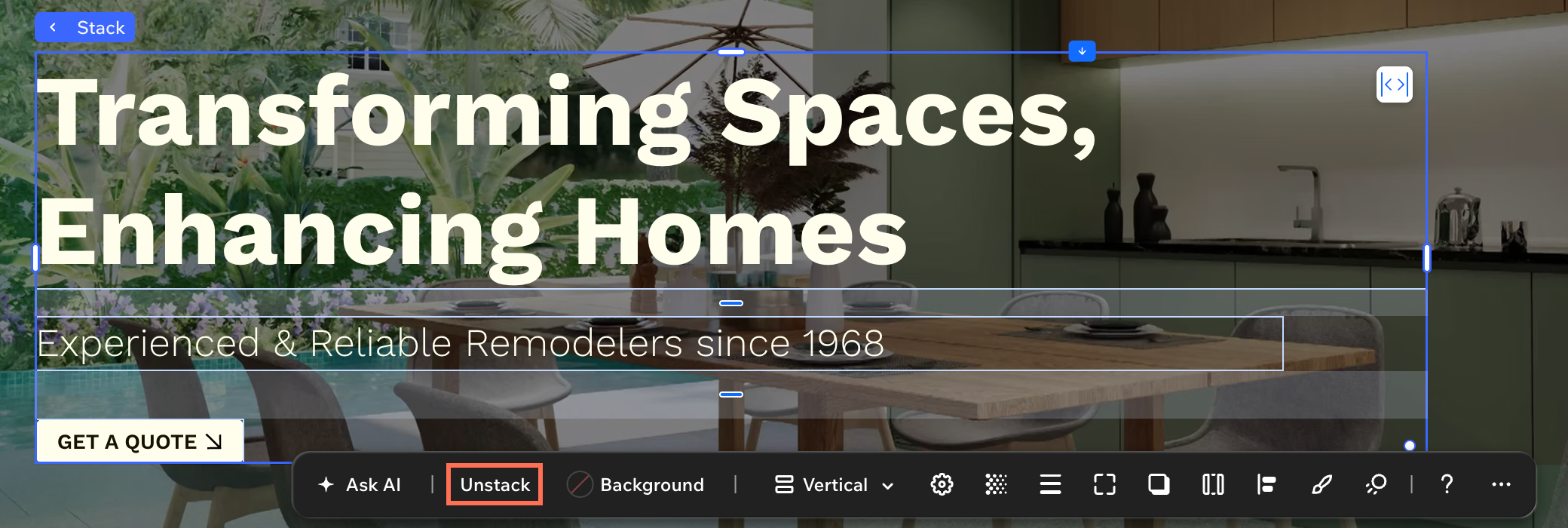
As your design changes, you can always add more elements, reorder existing ones, remove items from the stack, or unstack everything to update the layout.
To manage an existing stack:
Click the relevant stack.
Choose what to do next:
Adjusting the stack layout
Set the stack's layout to control how its elements are arranged, spaced, and aligned. Fine-tune these settings whenever your design needs a different look or your content changes.
To adjust the stack layout:
Select the relevant element.
Click the Open Inspector icon at the top right of the editor.
 at the top right of the editor.
(If not already open) Click the Design tab.
Scroll down to Layout.
Choose what to do next:
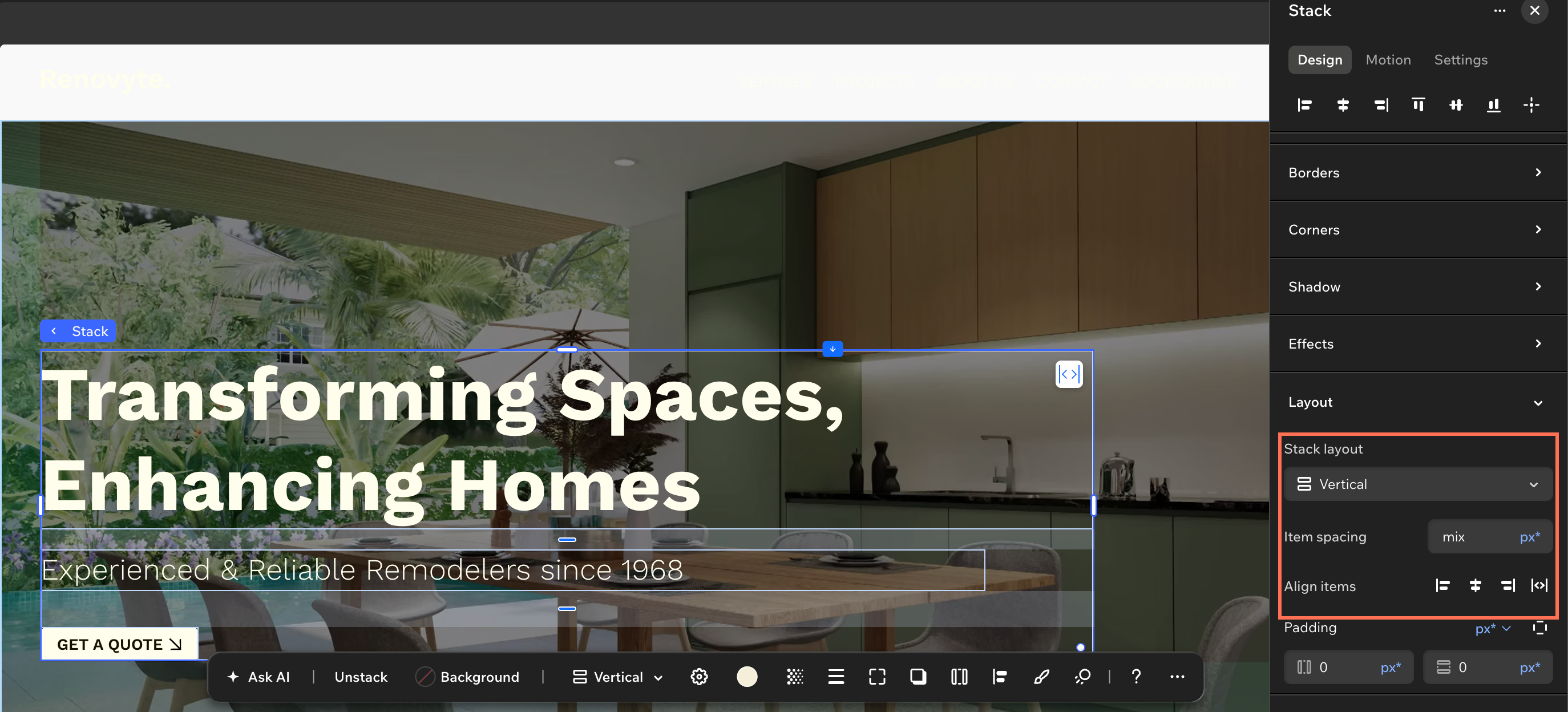
Stack layout: Switch between a horizontal and a vertical stack. This automatically rearranges the elements to match the new layout.
Item spacing: Add even space between the stack elements (i.e. stack items).
Tip: If you adjust the spacing manually on the canvas and it's uneven, you'll see 'mix' next to this setting in the Inspector. Entering a value will make the spacing consistent.Align items: Align the elements within the stack's bounding box. In a vertical stack, align them to the left, center, right or stretch them to fill the width. In a horizontal stack, align them to the top, center or bottom.
(Horizontal stack only) Direction: Decide whether to display the elements from left to right or vice versa.
Designing a stack
Turn a stack into a visual container by adding a border, corners, or shadow. This helps the grouped elements to stand out on the page.
To design a stack:
Click the relevant stack.
Click the All design options icon
 on the action bar.
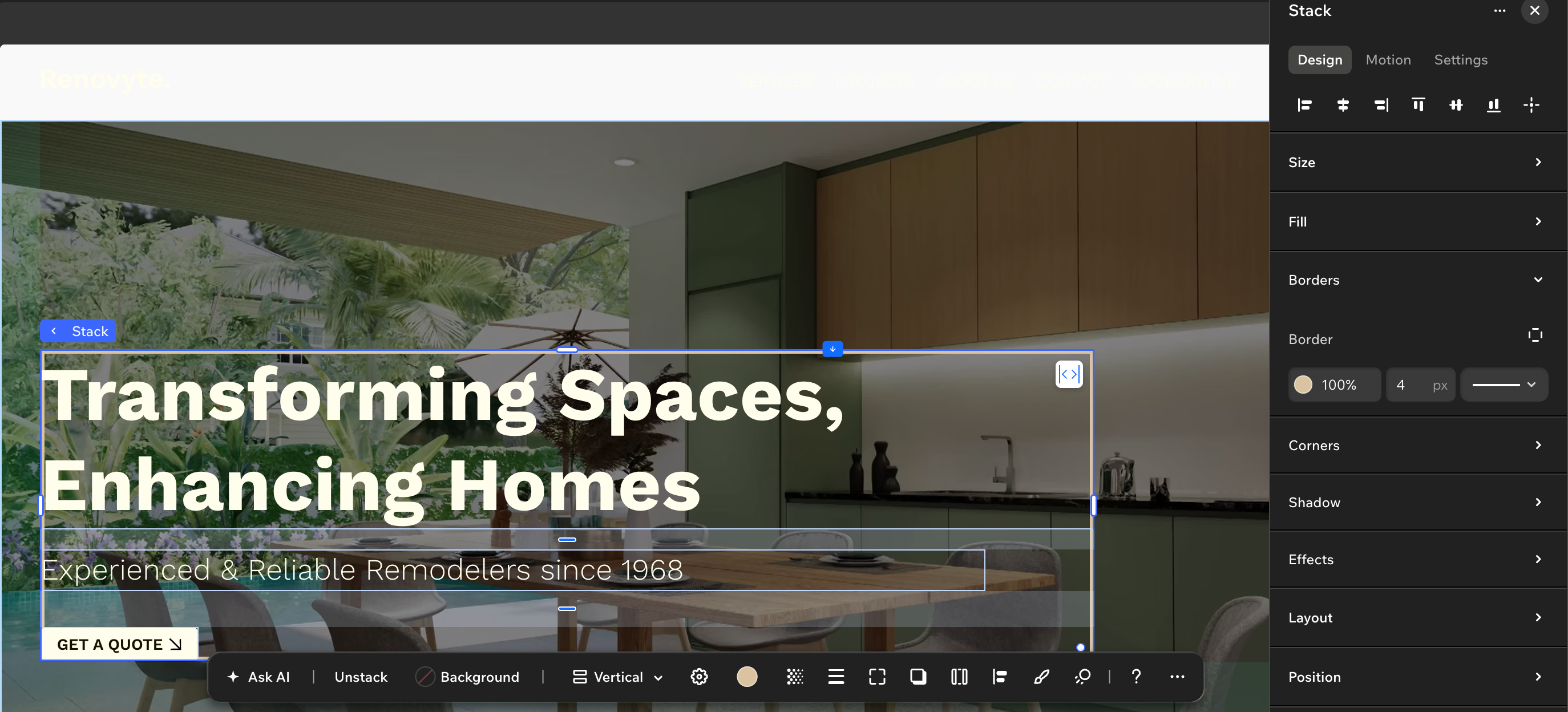
(In the Inspector) Design the stack using the available options:
Borders: Add borders to make the stack stand out, choosing the color, width and style. You can click the Edit individual borders icon to apply a different border on different sides of the stack.
Corners: Make the corners round or sharp.
Shadow: Add shadow to create depth behind the stack.
Fill: Choose a background for your stack (e.g. color, gradient, image, video) and set its level of opacity.
 to apply a different border on different sides of the stack.