
Studio Two Editor: Adding Preset Click or Hover Interactions
Click and Hover interactions bring a new layer of interaction and fluidity to a site. They're made up of two parts: the trigger (the action that sets off the animation—either clicking or hovering over an element), and the animation itself.
Apply an interaction to make elements move, change, or even appear when visitors click or hover over them. Preset interactions are also fully customizable, so you can tailor them to your liking.
Adding an interaction
Get started by adding a Click or Hover interaction to your chosen element. The interaction can animate the same element that visitors click / hover on, or a different element on the page.
To add a Click / Hover interaction:
Select the trigger element on the canvas.
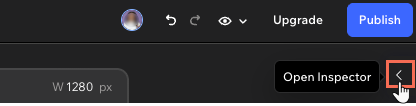
Click the Open Inspector icon at the top right of the editor.
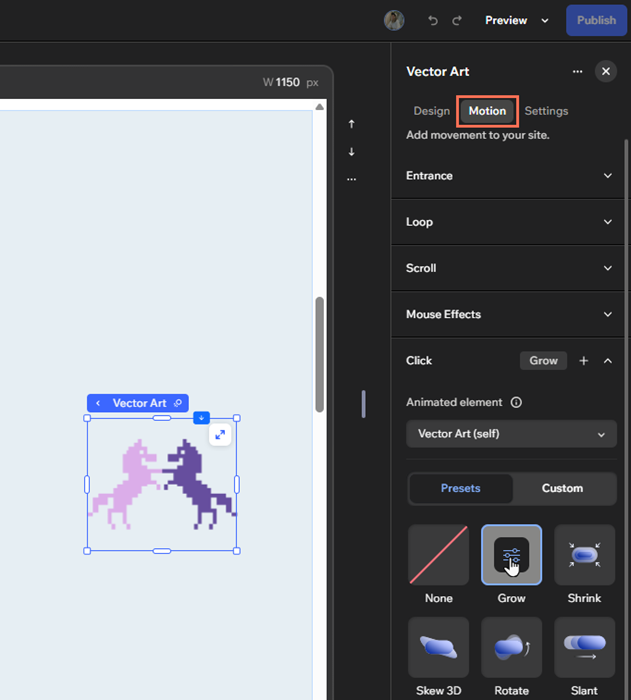
(If not already open) Click the Motion tab.
Select Click / Hover.
Select the Animated element:
Make the element trigger its own animation: Click the element's name (the word (self) appears next to it).
Animate a different element on the page: Select an element from the dropdown.
Click the Presets tab.
Select an interaction in the panel to apply it.
 at the top right of the editor.
Customizing an interaction
Once you've applied an interaction, customize it to achieve the desired effect. You can control settings like the easing, scale, and delay to make it really eye-catching.
To set up the interaction:
Select the relevant element.
Click the Open Inspector icon at the top right of the editor.
(If not already open) Click the Motion tab.
Select Click / Hover.
Hover over the applied effect and click the Customize icon .
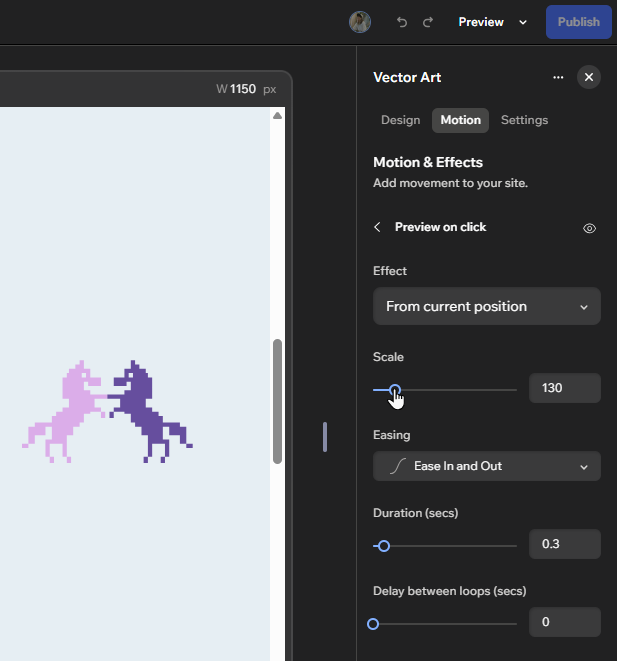
Adjust the interaction with the options:
Effect: Select whether the interaction causes the target element to move from its current position, or into its current position.
Scale: Set the scale of the element during the effect, relative to its original size. Setting a smaller scale for example, means the element shrinks as visitors interact with it.
Rotate: Choose how much the element rotates during the animation (in degrees)
Angle: Set the angle of the element's slant (in degrees).
Distance: Make the element move farther from, or closer to, its default position on the page.
Skew: Change the angle of the element's skew.
Easing: Choose how the animation eases in and out from the drop-down.
Duration: Drag the slider to set the duration of the animation (in seconds).
Delay between loops: Set the delay between the interaction ending and beginning again (in seconds).
 .
Options displayed depend on the preset you choose.
FAQs
Select an option below to learn more about working with interactions.