Studio Two Editor: Adding and Customizing Mouse Effects
Mouse effects are a fun, eye-catching way to highlight content on a site. When visitors are browsing through the site, the cursor's movement over the element triggers the effect.
There are a variety of pre-designed effects available, and you can customize them to behave exactly the way you want.
As these effects require a mouse cursor, they do not play on touchscreen devices (e.g. mobile phones, tablets etc.)
Adding a mouse effect to an element
To get started, apply a mouse effect to your chosen element from the Inspector panel.
To add a mouse effect:
Select the relevant element on the canvas.
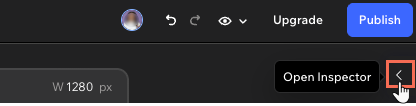
Click the Open Inspector icon at the top right of the editor.
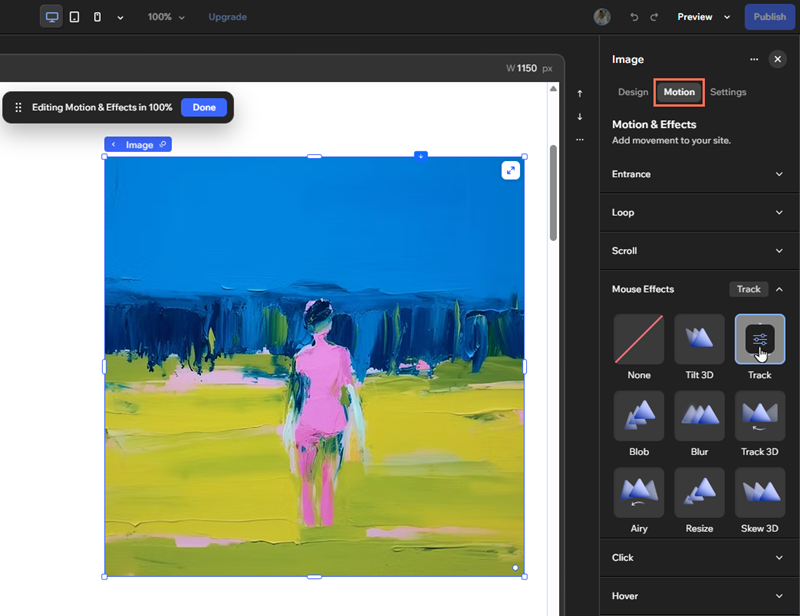
(If not already open) Click the Motion tab.
Click Mouse Effects.
Click the effect you want to apply to the element.
 at the top right of the editor.
Click None in the Mouse Effects dropdown.
Customizing a mouse effect
After applying your chosen mouse effect, customize its behavior. With settings such as the direction and and velocity, you can create fun, eye-catching effects, or subtle site interactions.
To customize a mouse effect:
Select the relevant element on the canvas.
Click the Open Inspector icon at the top right of the editor.
(If not already open) Click the Motion tab.
Click Mouse Effects.
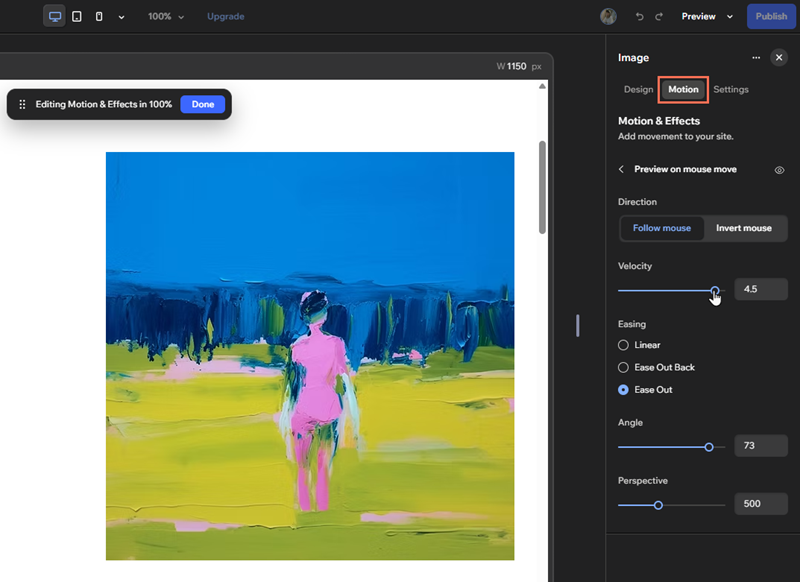
Hover over the applied effect and click the Customize icon .
Adjust the animation with the options:
Direction: Decide whether the effect follows the mouse / cursor, or moves in the opposite direction (invert).
Movement axis: Decide if the element moves horizontally, vertically or on both axes.
Distance: Choose how far the element can move (in px).
Velocity: Use the slider to change the effect's speed; the higher the number, the faster the effect.
Easing: Set the effect's easing: Linear, Ease Out Back, or Ease Out.
Angle: Decide how much the element's angle changes as visitors interact with it. A higher angle provides a stronger 3D effect on the site.
Perspective: Choose how much the perspective of the elements shift as visitors interact with it. A lower value will result in a more intensive 3D effect than a higher value.
Scale: Set the scale of the element during the effect, relative to its original size. Setting a smaller scale for example, means the element shrinks as visitors interact with it.
Blur: Set the intensity of the blur effect.
 .
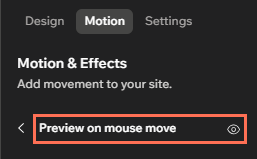
Enable Preview on mouse move to see the effect directly on the canvas, without having to preview the site.