
Studio Two Editor: Setting the Site's Max Width
This article refers to the new Studio Two Editor, released in November 2026. If you're unsure whether you’re using the Studio Editor or the Studio Two Editor, view more information here.
You can apply a max width to the site to prevent these elements from getting larger than the width you set. If needed, you can exclude specific sections and pages from max width, or disable it across the entire site.
Setting the site's max width
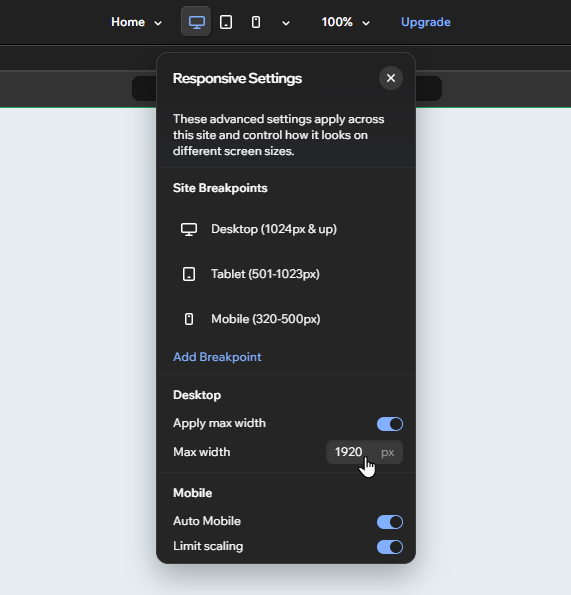
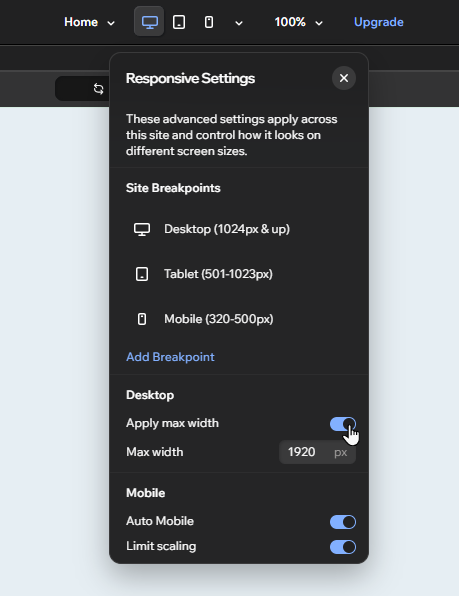
By default, a max width of 1920px is applied to all sites you create in the Studio Two Editor. You can change this width from the Responsive Settings panel.
On screens that are wider than the value you set, the element sizes stay fixed, and the site gets side margins.
To apply the max width:
Click the Customize Breakpoints icon
 at the top of the editor.
(If not already enabled) Click the Apply max width toggle to enable it.
Enter your chosen max width in the field (in pixels).
Excluding specific sections from max width
You can turn max width off for specific sections on the site — meaning any attached elements set to scale proportionally can grow beyond the width you've set.
To turn off max width on specific sections:
Select the relevant section on the canvas.
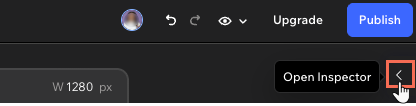
Click the Open Inspector icon at the top right of the editor.
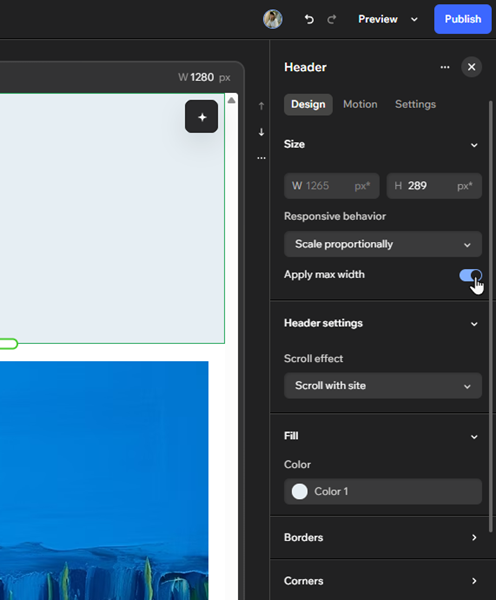
(If not already open) Click the Design tab.
Click the Apply max width toggle under Responsive behavior to disable it.
Tip: If you change your mind, you can always click the toggle again to re-apply the site's max width.
 at the top right of the editor.
Excluding specific pages from max width
Want to control max width in bulk? You can also exclude site pages from the setting; this disables it on all of the sections currently on the page.
To disable max width on specific pages:
- Open the relevant page in your editor.
- Select the page on the canvas:
- Click a section on the page.
- Hover over the section's title in the top-left to expand the breadcrumbs.
- Click Page.
- Click the Open Inspector icon at the top right of the editor.
- (If not already open) Click the Design tab.
- Click the Layout dropdown.
- Click Exclude existing sections.
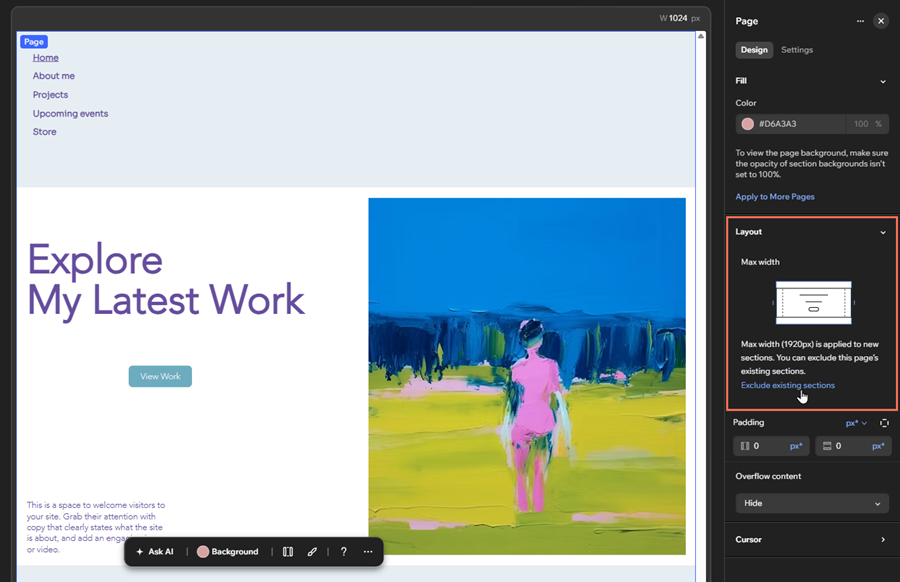
This option is only available if you have enabled max width across the entire site.
Disabling max width on the site
If needed, you can turn off max width across the entire site. When this is applied, sections continue to scale up on larger screen sizes.
To disable max width:
Click the Customize Breakpoints icon
at the top of the editor.Click the Apply max width toggle to disable it.
Click Turn Off in the popup.
If you disable max width across the site, it is not possible to enable it on specific sections only.