


Email Marketing: Creating an Email Campaign Manually
- Step 1 | Choose how to create your campaign
- Step 2 | Customize your email campaign
- (Optional) Step 3 | Preview and send a test email
- Step 4 | Choose who to send your campaign to
- Step 5 | Publish and send your campaign
Create a professional email marketing campaign with Wix. Choose a template or start from scratch, then customize your campaign. You can preview and test it, choose who to send it to, then publish and send. Your campaign is reviewed for compliance and sent to your subscribers.
Step 1 | Choose how to create your campaign
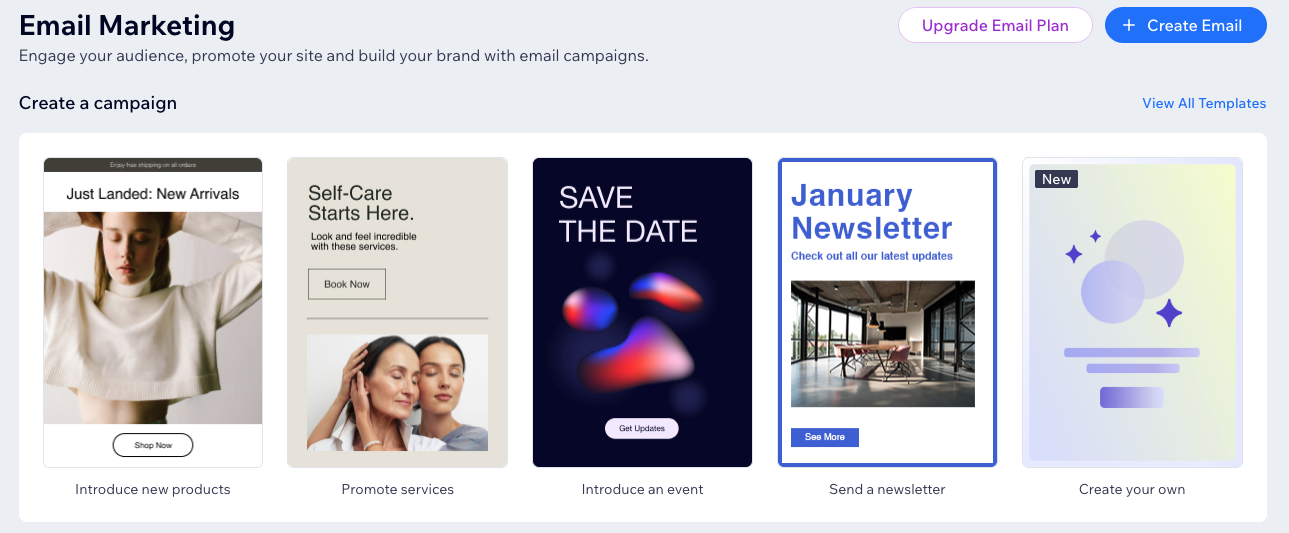
Start your campaign from a template, from scratch, or with AI. You then build it in one of two builders: Email Builder or Email Builder Plus. The builder you use decides which tab to follow below.
Email Builder: The classic drag-and-drop campaign editor.
Email Builder Plus: The newer builder, with made-for-you content from your site and more design control.
Go to Email Marketing in your site's dashboard.
Click View All Templates.
Hover over the template you want to use.
Click Use Template.
Click Use Email Builder under Email Builder.
Step 2 | Customize your email campaign
Choose what you want to do:
 on the left.
 on the right to go to the
  to create a copy of the element.
  to permanently remove the element.
 on the left.
 on the left.
  to choose a custom color.
  to choose the color behind the image or to have the image repeat itself across the background.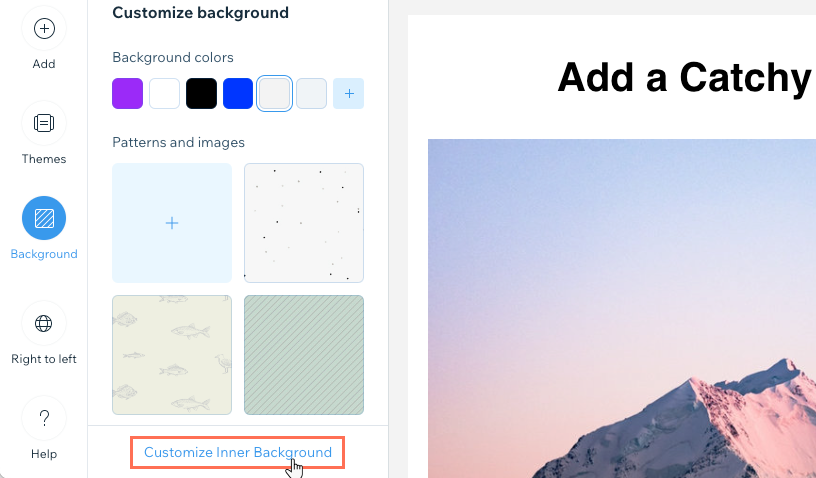
(Optional) Step 3 | Preview and send a test email
Preview your email on desktop and mobile before you send it, so you can check how it looks and make any final changes. You can also send yourself a test email to see how the campaign looks and works in an inbox.
To preview and test your campaign:
Click Preview & Test at the top right.
Choose what you want to do:
Click the Mobile icon
 to see how your email campaign looks on mobile devices.
Click the Desktop icon
 to see how your email campaign looks on a desktop computer.
 Click Back to Editing to return to the email campaign editor.
Send a test email:
Click Sent Test Email at the top.
Enter the email address that the test email should be sent to (your own).
(Optional) Edit the Subject, Sender's name, or Reply-to email fields.
Click Send.
Click Done.
Click Back to Editing at the top right to return to the campaign editor.
 at the top of the editor to manually save your work at any time. The email campaign editor also has an autosave feature to prevent you from losing valuable information if you forget to save or your internet disconnects.
Step 4 | Choose who to send your campaign to
- Make sure to follow the Wix Email Marketing best practices when choosing your recipients.
- Each recipient only sees their own email address, your mailing list is kept private.
To add recipients:
- From your campaign editor, click Next at the top right.
- (Optional) Import contacts from a CSV file or your Gmail account:
- Click Import Contacts at the bottom right.
- Click Import Contacts in the popup to confirm.
- Choose between CSV file or Gmail account and follow the steps on-screen.
- When ready, click Back to email marketing at the top.
- Select who you want to send this email to:
- Click Next at the top right.
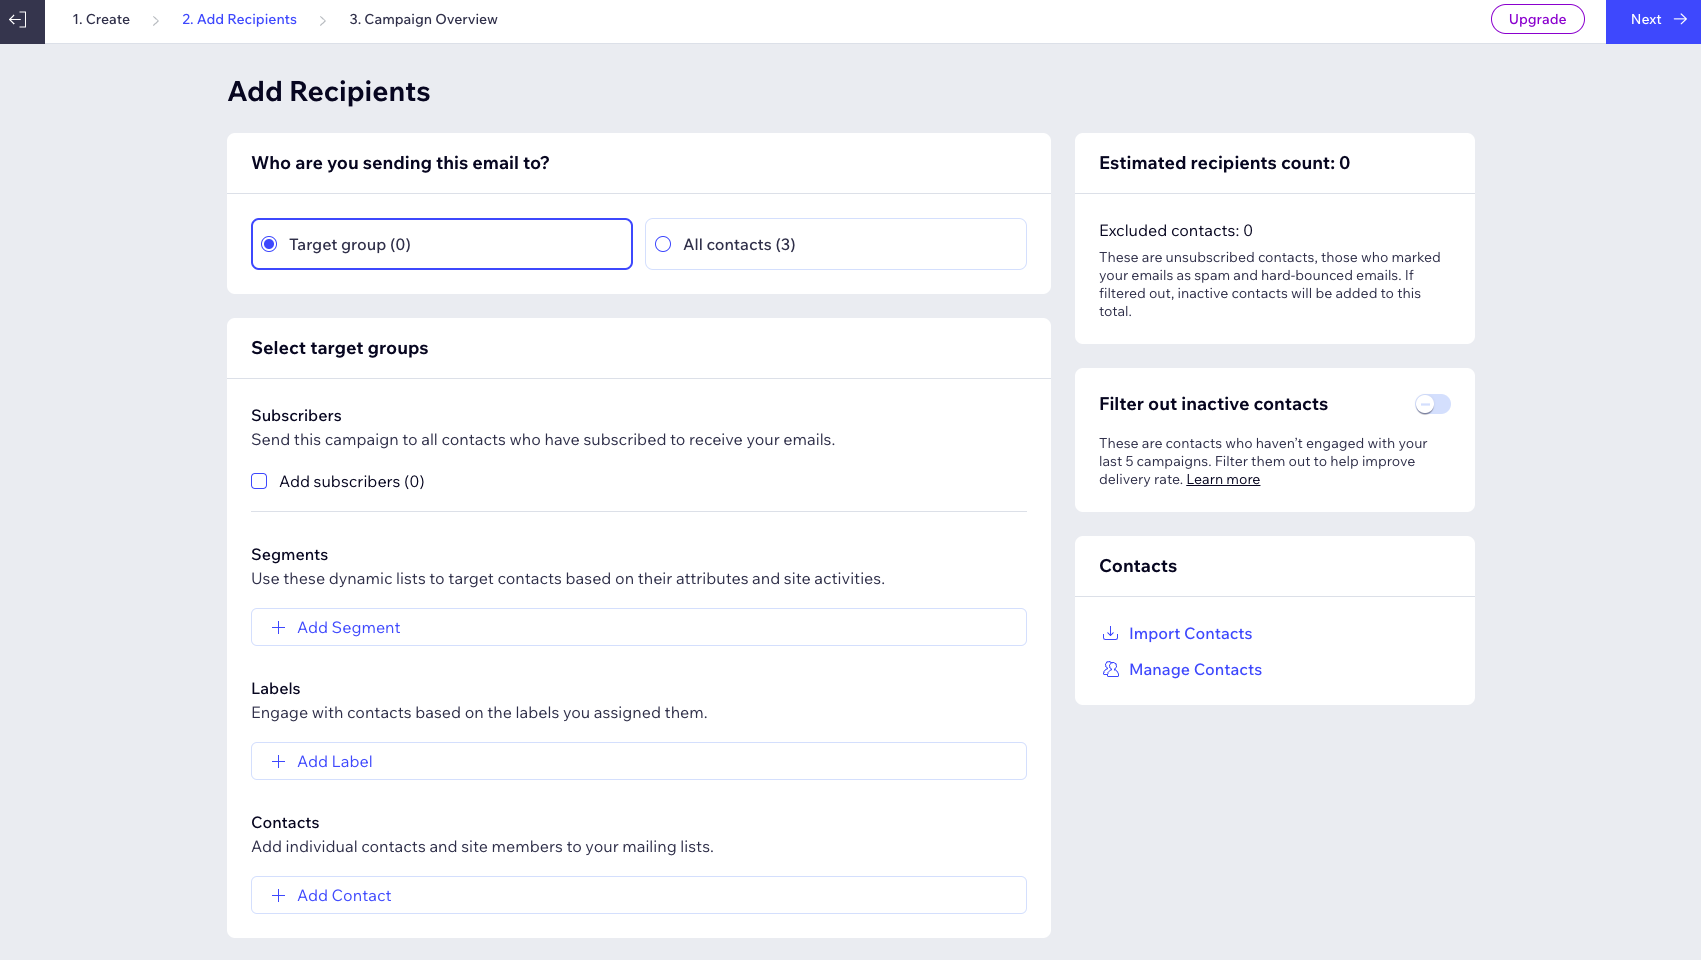
Enable the Filter out inactive contacts toggle to exclude contacts who haven’t engaged with your last 5 campaigns. We recommend keeping this option enabled, as sending campaigns to inactive contacts can hurt your email deliverability and increase the chances of your emails being marked as spam.
Step 5 | Publish and send your campaign
Add a subject line and enter the sender name that appears in recipients' inboxes. Then choose whether to send your campaign right away or schedule it for a later date.
After you send or schedule your campaign, it joins a queue for review to make sure it complies with the Email Marketing terms of use. Once approved, your emails are sent and you can share your campaign on social media or with a direct link.
To publish and send your campaign:
From the Campaign Overview page, add your sending details:
Subject line: Click Edit and enter a subject line and preview text. To add content that automatically adjusts to each contact's details or your site's URL, click + Personalize and select an option. Click Save when you're finished.
Sender details: Click Manage and enter the sender name recipients see and the reply-to email address for replies. If you have not confirmed your email address yet, click Confirm Now. Click Save, then Done, when you're finished.
Email recipients: Click Edit and choose who receives your campaign. Then click Next to return to the Campaign Overview.
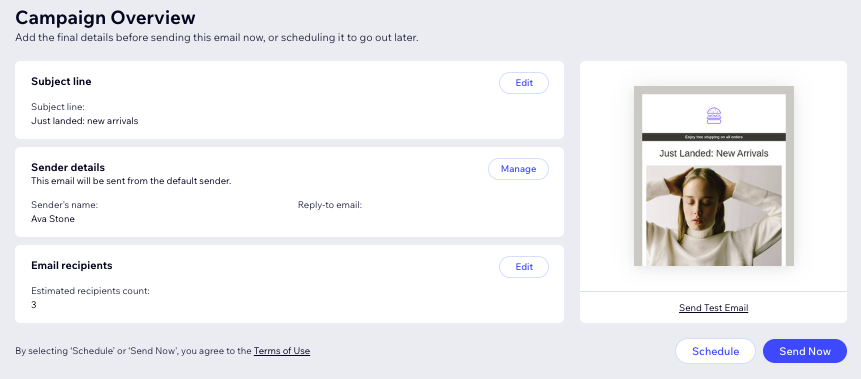
Choose when to send your campaign.


