Editor X: Managing Your Site Styles
4 min read
In this article
- Editing the typography styles
- Adding text styles to a page
- Applying a style to a text element
- Changing the site colors
- Adding a page transition
Editor X is transitioning to Wix Studio, our new platform for agencies and freelancers.Learn more about Wix Studio
From the Site Styles panel, you can manage the text and color styles of your site in one place. This is a great way to save time and ensure your design is consistent.
How can I access my Site Styles?
Learn how to:
Editing the typography styles
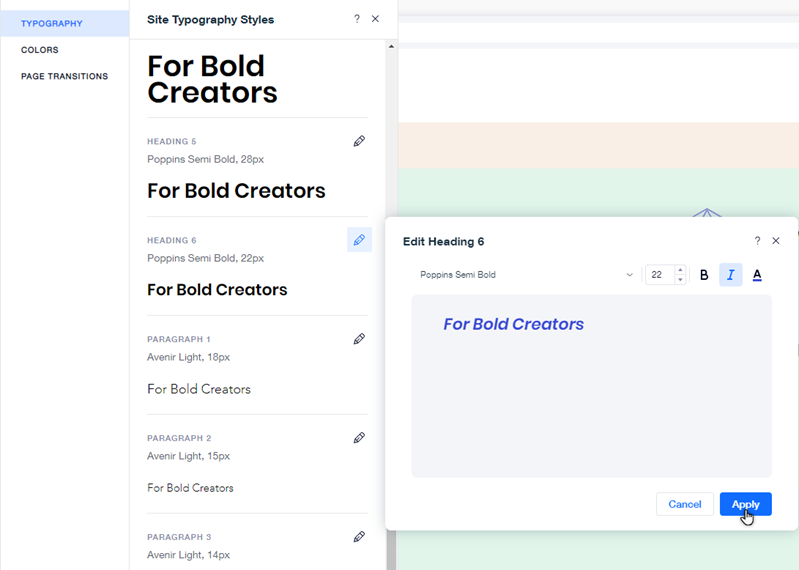
You can customize and save six typography styles for your site - three headings (H1, H2, H3) and three paragraph styles. Change the font, color and formatting of each style to match the look you want to achieve.
To update a typography style:
- Click Site Styles icon
 on the top bar of the Editor.
 - Click the Edit icon
 on a typography style.
 - Customize the typography as you wish.
- Change the font using the drop-down menu.
- Adjust the text size.
- Make your text bold or italicized.
- Click Apply.
Adding text styles to a page
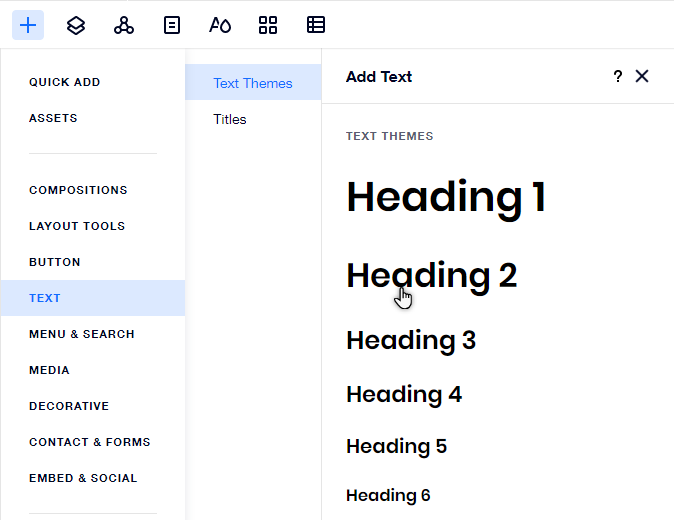
Your themed titles and paragraphs are available for you to use from the Add panel. Click Text and drag the relevant style under Text Themes to the desired location.
Applying a style to a text element
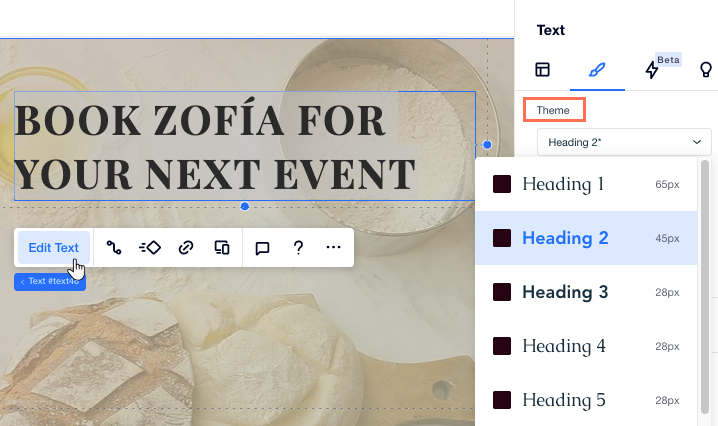
To change the style of a text element on your site, click Edit Text and select the relevant style from the drop-down menu:
Changing the site colors
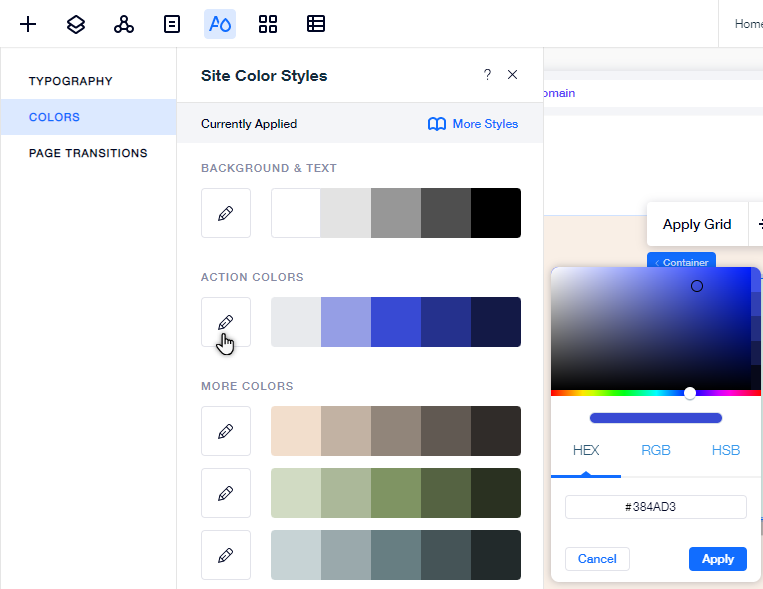
Customize the color palette of your site. The color palette is divided into categories to reflect the different uses and parts of the site. You can choose to customize the main color of each category, or a specific color within one of the palettes.
To change the site colors:
- Click the Site Styles
 icon on the top bar of the Editor.
 - Click the Colors tab.
- Click the Edit icon
 on a color.
 - Customize the color and click Apply.
Adding a page transition
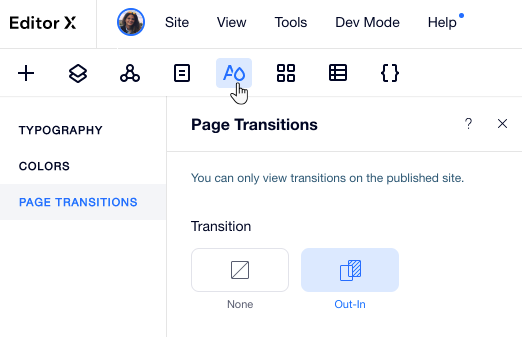
Add a page transition to enhance your visitors' experience as they navigate between pages. Once you choose a transition from the Site Styles panel, it reflects throughout your entire site.
To add a page transition:
- Click the Site Styles icon
 on the top bar of the Editor.
 - Click Page Transitions.
- Select a transition from the list:
- None: No transition is shown when visitors move between pages.
- Out-In: The current page fades out and the new page fades in.
 on the top bar of the Editor:
