ADI: Adding and Setting Up a Gallery
5 min read
In this article
- Step 1 | Add a gallery to your site
- Step 2 | Add media to your gallery
- Step 3 | Customize your gallery settings
- FAQs
Add a multimedia gallery to your site to showcase your images and videos and really bring your business to life. You can also add elements like social share icons, a download button, and a heart icon beside each gallery item to encourage site visitors to interact with your gallery and react to their favorite images.
Step 1 | Add a gallery to your site
The first step is to add a gallery to your site. After you've added your gallery you can then look at adding media and customizing the settings.
To add a gallery to your site:
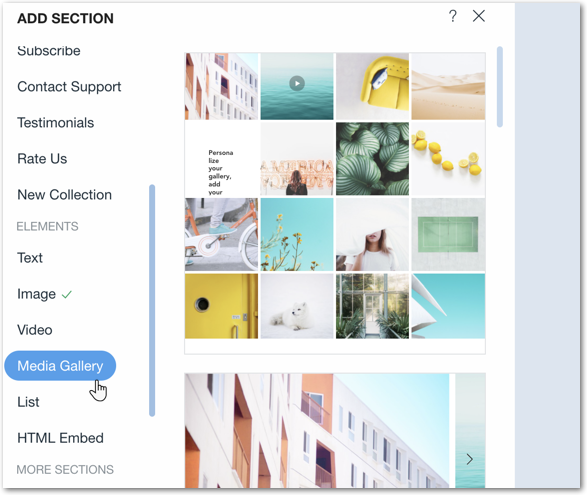
- Click Add on the top bar inside ADI.
- Click Section to Page.
- Scroll down to Elements and click Media Gallery.
- Select a design and drag it to the relevant section on your site.
Step 2 | Add media to your gallery
Once you've selected an initial layout you can begin adding images and videos to your gallery to really make it come to life. Upload your own images or choose stock images.
To add media to your gallery:
- Click the gallery in the ADI builder.
- Click Manage.
- Click Add Media.
- Choose the type of media you wish to upload: Image, Video or Text.

Step 3 | Customize your gallery settings
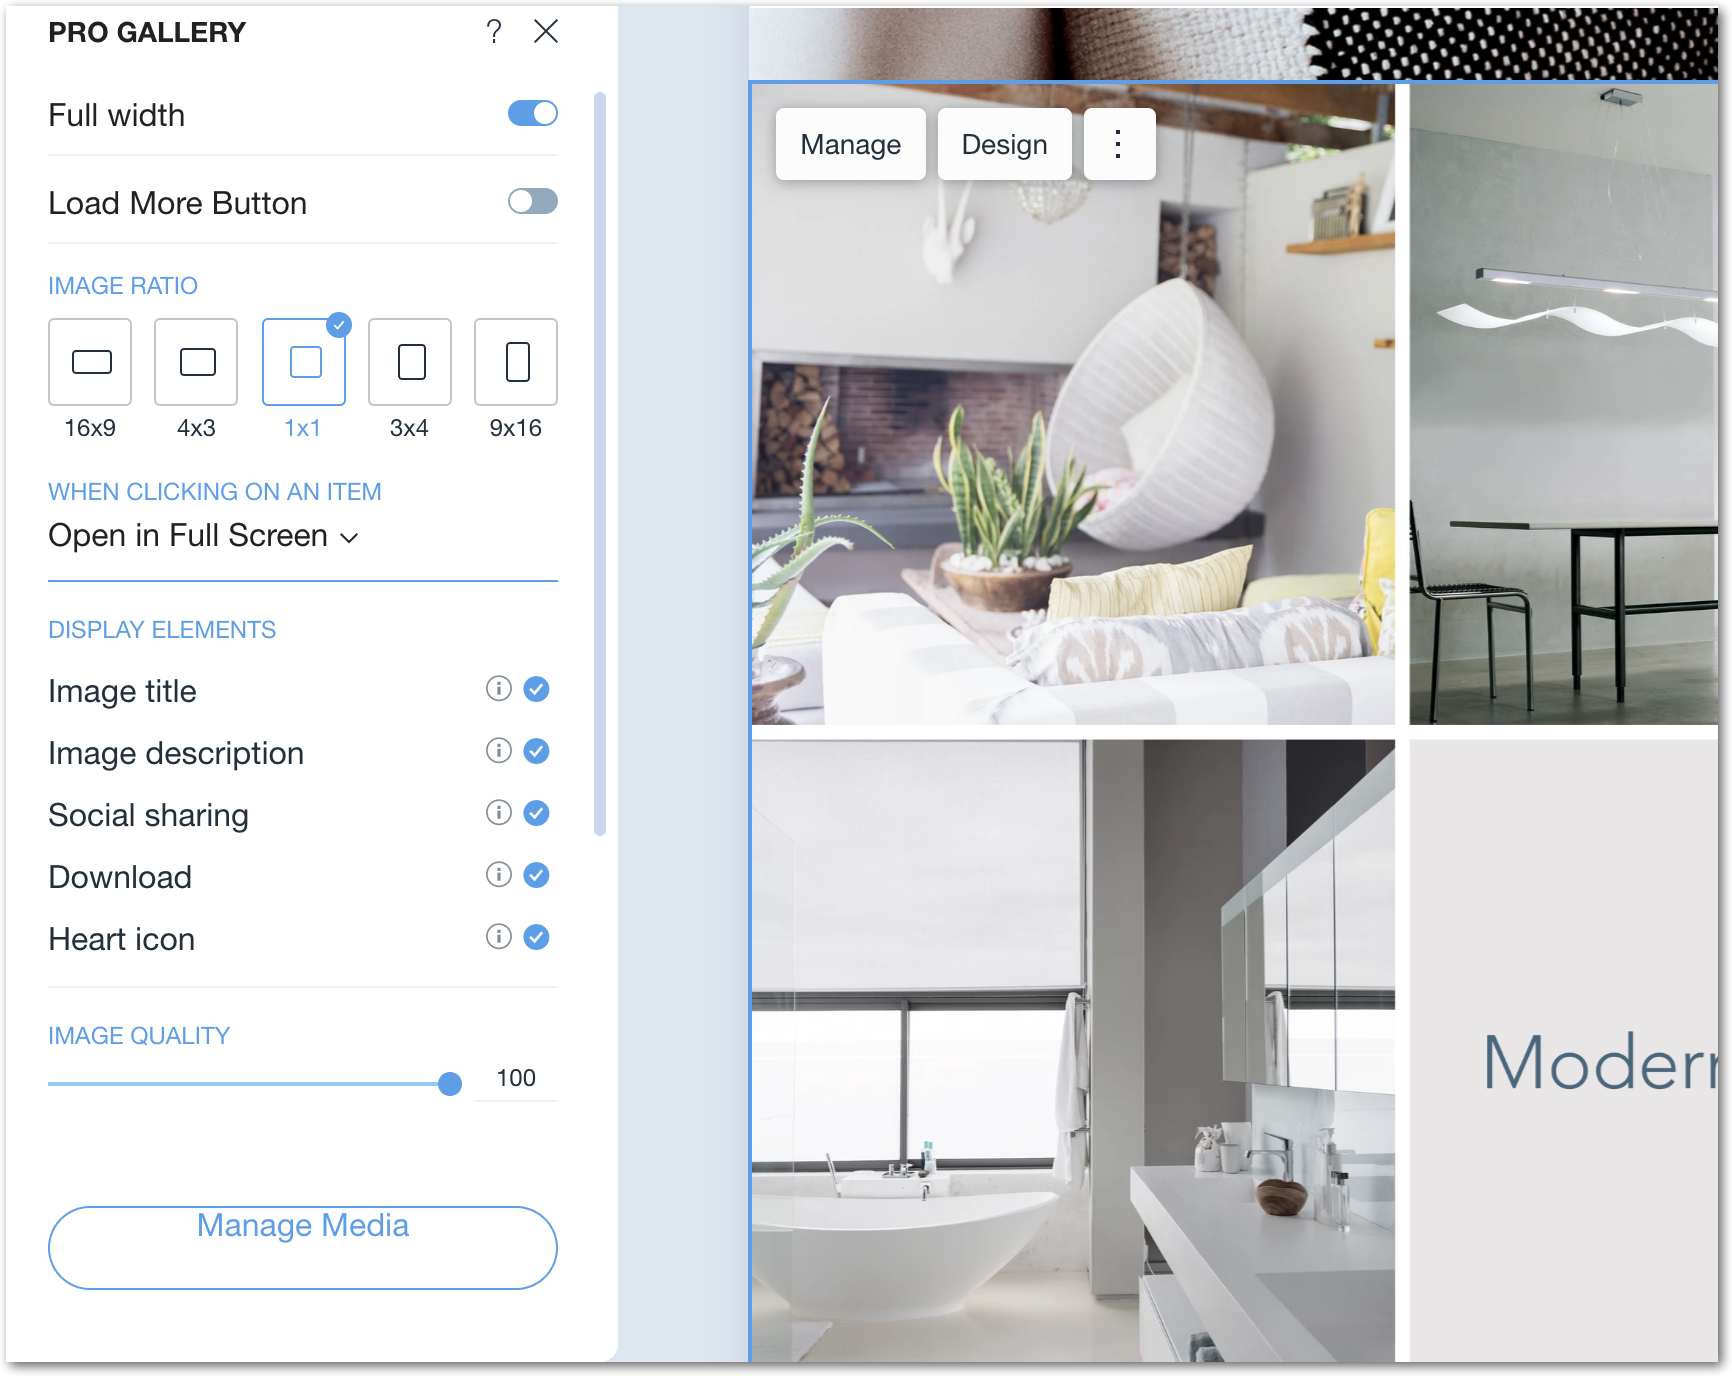
Choose your gallery's width and display elements as well as what happens when a visitor clicks an item or scrolls through the gallery.
To customize your gallery settings:
- Click your gallery in the ADI builder.
- Customize your gallery settings on the panel on the left using the available options:
Show me how
Note:
Some settings may be different or unavailable based on the gallery layout you choose.
FAQs
Click a question to learn more about galleries in ADI.
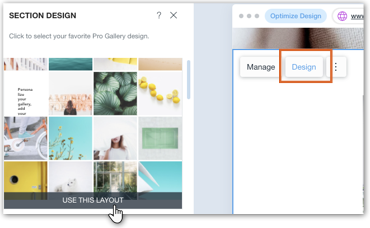
How do I change the layout of my gallery?
How do I delete an image from my gallery?
 . Then click Done.
How do I add text to my gallery images?


