ADI: Adding and Setting Up Your Logo
2 min read
Add a logo to your header to complete your site's branding and give your site that competitive edge. You can add a logo you created using Wix Logo Maker, free images or shapes from Wix, or upload your own design. Then, change your logo's size, add a link to it, and more.

To add a logo to your site:
- Click the header inside the ADI Builder.
- Select the checkbox next to Logo Image / Logo Shape to show your logo.
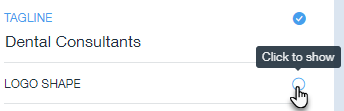
- Click Settings next to Logo Image / Logo Shape.
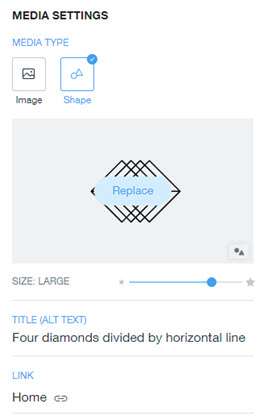
- Choose the type of media you want to use: Image or Shape.
Note: To upload a PNG file, choose Image. To upload an SVG file, choose Shape. - Click Replace and select the relevant file.
- Customize your image or shape using the following options:
- Size: Drag the slider to increase or decrease the logo's size.
- Title (Alt Text): Add a title to your logo, which also serves as its alt text.
- Link: Link your logo to an element, page or external site.
Want to customize your logo?
Note: If you have uploaded a logo designed with the Wix Logo Maker, it is not possible to customize it further, in accordance with the Wix Logo Maker Terms of Use.
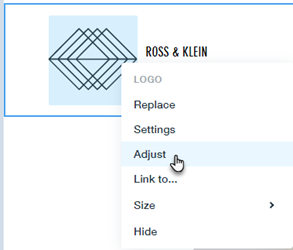
You can customize your own images, or images and shapes from the Wix libraries, using the Wix Photo Studio. Just right-click your logo in the Header and click Adjust.
Note: If you have uploaded a logo designed with the Wix Logo Maker, it is not possible to customize it further, in accordance with the Wix Logo Maker Terms of Use.
Note:
If replacing a logo file in the steps above, it is not possible to replace a PNG file with an SVG file, and vice-versa.
Did this help?
|