Editor X: Adding and Customizing a Google Map
6 min read
Editor X is transitioning to Wix Studio, our new platform for agencies and freelancers.Learn more about Wix Studio
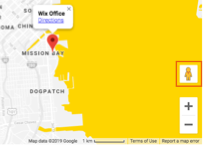
Got a physical address you want visitors to know about? Add a Google Map element so they get a better visual of your location. You can pin one or multiple locations, choose from many color themes and customize the settings to your liking.
In this article, learn how to:
Adding a Google Map element
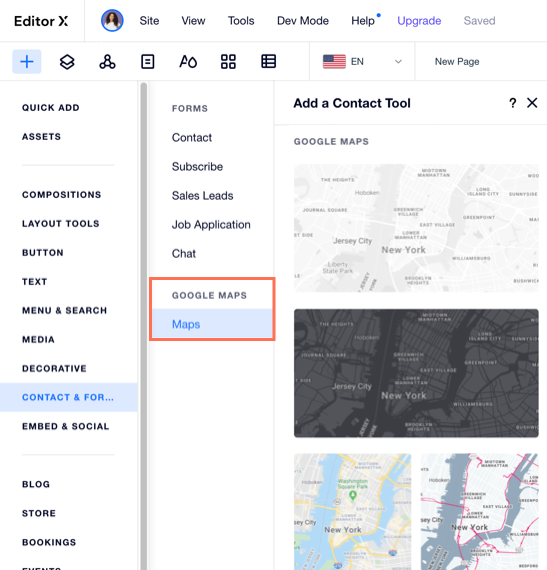
From the Add panel, you can add a map in a size and design that meet your needs. Some maps cover an entire section and others are smaller. Either way, you can pick a different design after adding the map.
To add a Google Map:
- Click Add
 on the top of Editor X.
 - Click Contact & Forms.
- Click Maps.
- Choose a map you like and drag it onto your page.
Customizing the Map settings
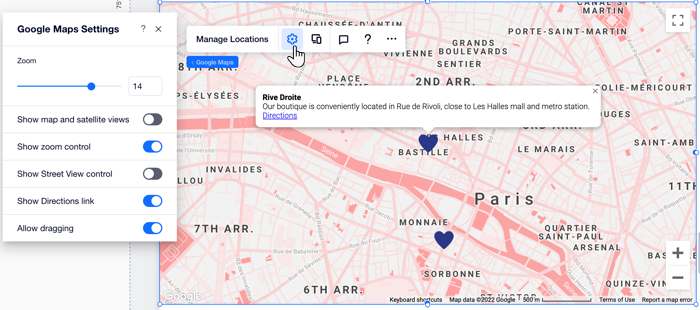
Change the zoom, views and controls of your Google Map so that it behaves just as you want.
To customize the Map settings:
- Click the Google Map in Editor X.
- Click the Settings icon
 .
. - Customize your Map's settings. Click a setting below to learn more about it:
Zoom
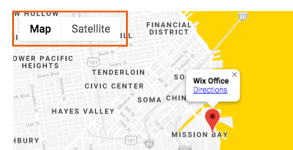
Show map and satellite views
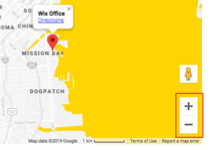
Show zoom control
Show Street View control
Show Directions link
Allow dragging
Choosing a design for your Map and Pin
Editor X offers many different color themes for your Google Map that you can access in the Inspector panel. You can also change the Pin's default shape to something that fits your style – including any image from the Media Manager.
To choose a different Map and Pin design:
- Click your Google Map.
- Click the Inspector icon
 at the top right of Editor X.
 - Click the Design tab
 .
. - Depending on what you want to design, choose an option:
- Map: Hover over the designs to see which one fits your aesthetic the most.
- Pin: Choose a different pin from the list, or click the Add icon
 at the bottom to choose an image from the Media Manager.
Managing your locations (Pins)
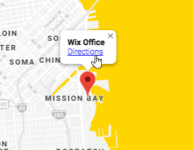
Google Maps let you show a single Pin to mark your physical address or multiple, if you have a few different locations people can choose from. For each Pin, enter as many details as possible to make it descriptive: a title, a description and a link (if relevant).
To manage your locations:
- Click your Google Map.
- Click Manage Locations.
- Choose the relevant option under How many locations do you have?:
- One: Enter the location details:
- Address: Type the address.
- Title: Add a title to the location pin on the map to let users know what its called.
- Description: Add a short description to describe the location.
- Link: Add a link to redirect your users to your company's website or link of your choice. It is not possible to link to a lightbox, anchor or the top/bottom of the page.
- Link Text: Add a title to your link to let users know what to expect when clicking.
- Multiple:
- Enter the first location's details (Address, Title, Description, etc.)
- Click Add Location at the bottom to add a new location.
- Enter the location details (Address, Title, Description, etc.)
- Repeat steps b-d for each location you want to add to your map.
- One: Enter the location details:
Tip:
Hover over a location and click the More Actions icon  to edit, duplicate or delete it.
to edit, duplicate or delete it.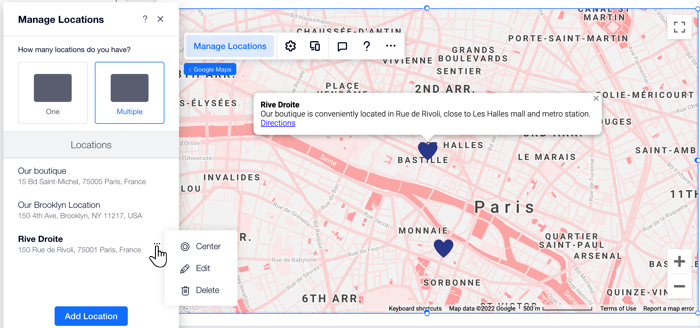
Did this help?
|