Adding and Setting Up the Countdown Clock App
5 min read
Add the Wix Countdown Clock app to your site and draw attention to your upcoming event. You can change the clock's design to suit your brand, and choose a message to appear after the countdown ends.
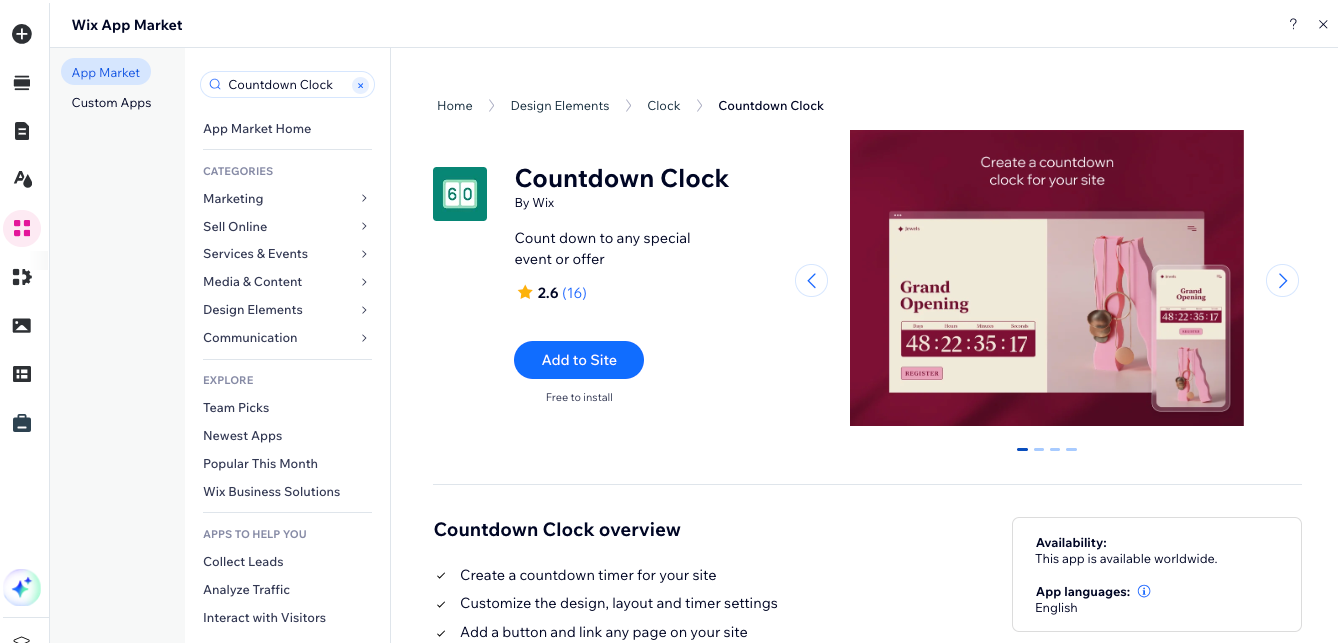
Step 1 | Add the Countdown Clock app to your site
You can find the Countdown Clock app in the Wix App Market. Go to the App Market in your editor to add it to your site.
Wix Editor
Studio Editor
- Click Add Apps
 on the left side of the editor.
 - Search for the Countdown Clock app in the search bar.
- Click Add to Site.
Step 2 | Set up your countdown clock
Select the type of countdown you want to show, choose a time and date for your countdown to end, and customize the message visitors see when it ends.
To set up your countdown clock:
- Select the Countdown Clock in your editor.
- Click Settings.
- Click the Select countdown type drop-down and select an option:
- Fixed: Your countdown clock runs once, until a specific date and time. Enter the end date and and select your time zone.
- Repeats: Your countdown clock runs multiple times, i.e. every day, week or month. Select when your clock restarts, enter start and end times and select your time zone.
- Set per visitor: Your countdown is specific to the visitor that's seeing it and starts when the visitor lands on the page. Choose the unit of time you want to use and the duration of the countdown.
- Click the End Message tab.
- Click the Show message toggle to enable or disable it:
- Enabled: A message appears to show that the special event or sale has ended.
Note: You can click the text box in the app widget to change the text that is displayed.

- Disabled: The clock remains at 00:00:00:00 and no message is displayed.
- Enabled: A message appears to show that the special event or sale has ended.
Step 3 | Customize the look of your countdown clock
The Countdown Clock app is fully customizable. You can choose which elements you want to show (e.g. titles, buttons), change the layout or customize the colors and fonts used.
Wix Editor
Studio Editor
- Click the Countdown Clock app in your editor.
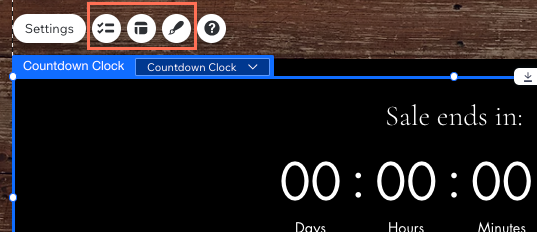
- Choose what you want to customize:
- Elements: Click the Elements icon
 and select which elements you want to show (title text and/or button).
 - Layout: Click the Layout icon
 and select a layout for your countdown clock. Drag the slide to change the spacing of the message that appears when the countdown ends.
 - Design: Click the Design icon
 to customize the colors and fonts used on your countdown clock.
- Elements: Click the Elements icon
Did this help?
|